
Getting your production costs right is only half the battle. If you don't know how to price a garment correctly, you can wipe out your margins before you sell a single unit. We see this regularly at Manludini, brands invest in sample development and bulk production, then struggle to set prices that actually cover their costs and leave room for profit.
Garment pricing isn't guesswork. It follows a clear structure: you calculate your cost of goods sold (COGS), then apply proven markup strategies to land on wholesale and retail prices that make sense for your market. Methods like keystone pricing exist for a reason, they give you a reliable starting framework instead of pulling numbers out of thin air.
This guide breaks down the full pricing process step by step. You'll learn how to calculate your true COGS, understand the difference between wholesale and retail markup, and apply pricing formulas that real fashion brands use. Whether you're launching your first collection or recalculating margins on existing styles, this article gives you the practical math and strategy to price with confidence.
What you need before you price a garment
Before you can learn how to price a garment correctly, you need to gather specific information. Jumping straight into formulas without this foundation leads to prices that look right on paper but fail in practice. The goal is to have real numbers and a clear picture of how and where you sell, so every calculation you run reflects your actual business situation rather than estimates.
Your cost inputs
Every garment price starts with costs, and you need to collect all of them before building a single formula. Most brands track fabric and materials but miss smaller items that add up quickly across a production run. Here is the complete list of cost inputs you should gather for each style before you start pricing:
| Cost Category | What to Include |
|---|---|
| Materials | Fabric, lining, interfacing, thread |
| Trims and components | Buttons, zippers, labels, hangtags, packaging |
| Sample and development | Tech pack creation, proto samples, revision rounds |
| Manufacturing (CMT) | Cut, make, trim labor cost per unit |
| Washing, printing, finishing | Any additional processes applied to the garment |
| Freight and shipping | FOB cost, inland transport, air or sea freight |
| Duties and customs | Import tariffs based on garment category and destination country |
| Quality control | Third-party inspection fees if applicable |
Skipping even one cost category, especially duties or freight, can reduce your actual margin by 10 to 20 percentage points before you realize what happened.
Your sales channel
You need to know where you plan to sell before you set a single price point. Pricing a garment for direct-to-consumer retail works differently from pricing it for wholesale, and trying to serve both channels without a clear strategy creates serious margin problems. If you sell directly to customers through your own store or website, your retail price is the final number the buyer sees. If you sell to boutiques or retailers, your wholesale price becomes the base, and the retailer applies their own markup on top of that.
Decide your primary channel before you run any numbers, because every formula in this guide builds on that decision. Some brands operate both channels successfully, but it requires separate price points and a clear policy to avoid undercutting your wholesale accounts with your own direct pricing.
Your market positioning
Your positioning determines the price range your target customer expects and how much they're actually willing to pay. A mid-market activewear brand cannot apply the same pricing logic as a premium knitwear label, even if their production costs are similar. Before you calculate anything, define clearly where your brand sits: budget, mid-market, or premium.
Research two or three direct competitors in your exact segment and note their retail price ranges for comparable garments. That range becomes your ceiling for validation later in the process. Without it, you're calculating costs in isolation with no reference to what the market will actually support, which makes it easy to price yourself out of the segment you're trying to reach.
Step 1. Calculate true unit cost
Your true unit cost is the total amount you spend to produce and land one finished garment, ready for sale or distribution. Most brands undercount this figure because they track fabric and labor but miss freight, duties, and packaging details that quietly eat into margins. To understand how to price a garment correctly, you need every cost pinned down at the per-unit level before you apply any markup at all.
Build your cost sheet line by line
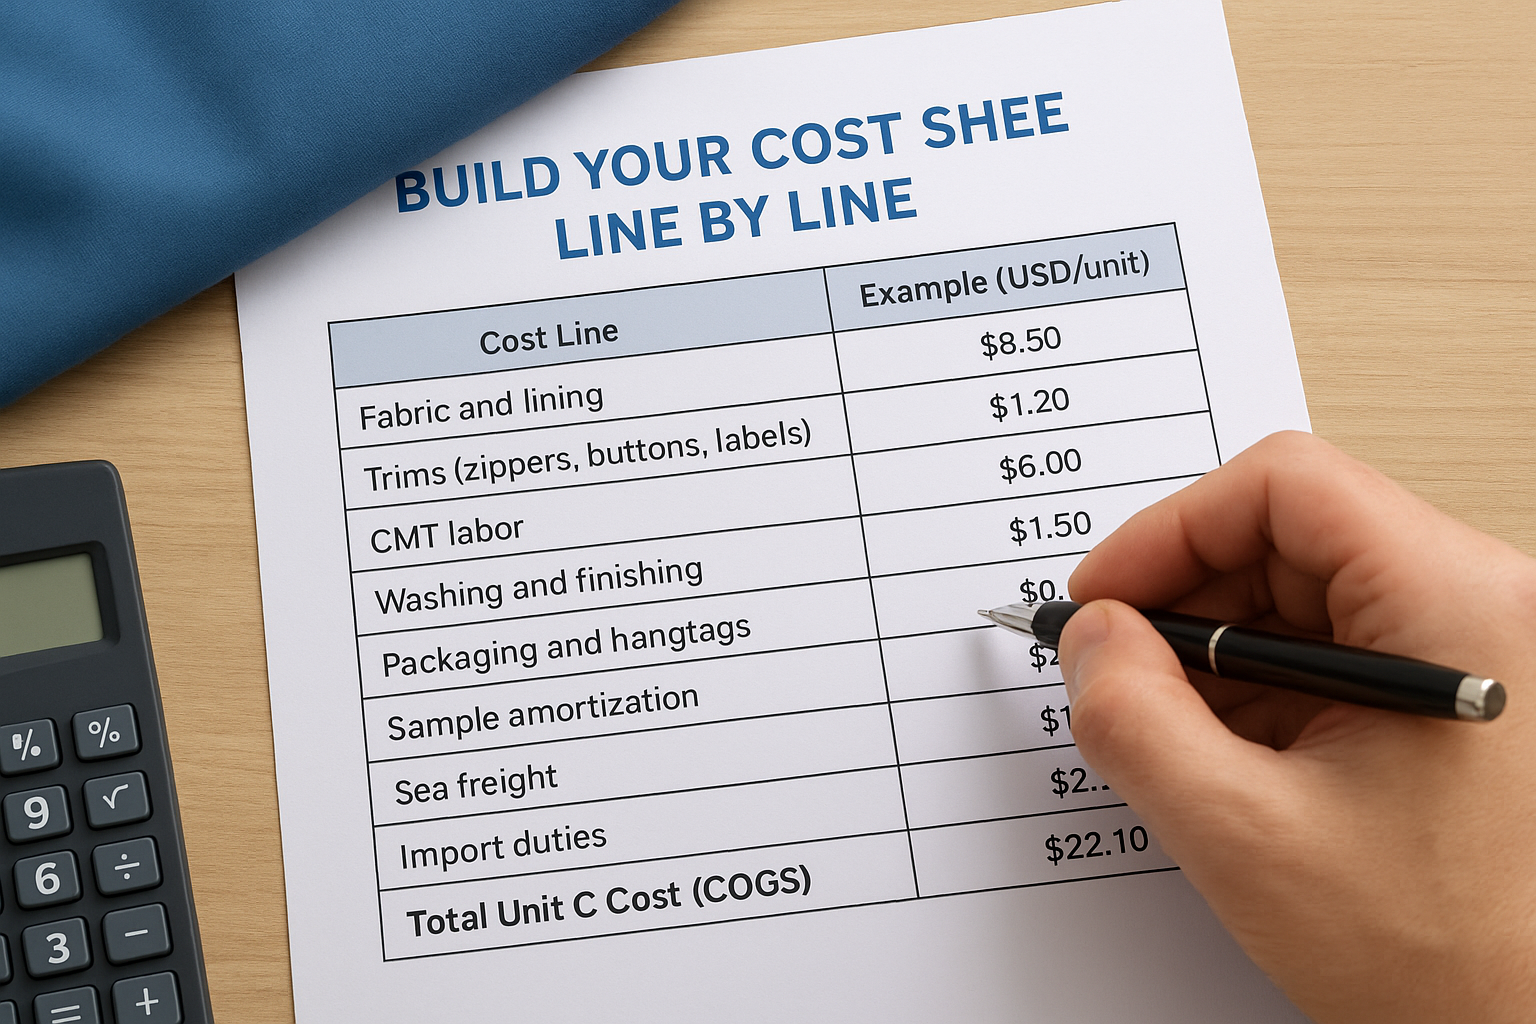
The most practical way to calculate unit cost is to build a dedicated cost sheet for each style. A cost sheet breaks every input into a per-unit amount, which forces you to convert bulk expenses like inspection fees or full freight invoices into what each individual piece actually costs you. Here is a straightforward template you can adapt:
| Cost Line | Example (USD/unit) |
|---|---|
| Fabric and lining | $8.50 |
| Trims (zippers, buttons, labels) | $1.20 |
| CMT labor | $6.00 |
| Washing and finishing | $1.50 |
| Packaging and hangtags | $0.80 |
| Sample amortization | $0.40 |
| Sea freight | $1.10 |
| Import duties | $2.30 |
| QC inspection | $0.30 |
| Total Unit Cost (COGS) | $22.10 |
Run this calculation separately for every style in your line. A basic tee and a structured jacket can share similar fabric costs but carry very different labor, finishing, and duty charges that change your COGS significantly.
Account for hidden per-unit costs
Two costs that brands consistently miss are sample amortization and import duties. Sample development is a real production expense, not a sunk cost to ignore. Spreading it across your minimum order quantity keeps your cost sheet accurate and prevents you from underpricing early runs. If you spent $800 on sampling and your MOQ is 300 units, that adds $2.67 per unit to your COGS automatically.
Never estimate import duties from memory. Use your garment's HTS code and the current tariff schedule on the USITC website to find the exact rate applied to your landed cost.
Duty rates shift based on garment category and country of origin, so confirm the exact rate before production starts, not after your shipment clears customs and the invoice lands on your desk.
Step 2. Set target gross margin and markup
Once you have your true unit cost, the next step in understanding how to price a garment is deciding how much margin your business actually needs to survive and grow. Most brands confuse gross margin with markup, which leads to pricing errors that undercut profitability before they even notice the gap.
Gross margin vs. markup: know the difference
These two numbers are related but calculated differently, and using the wrong one in your formula produces the wrong price. Gross margin measures profit as a percentage of the selling price, while markup measures it as a percentage of your cost. Here is how each calculation works:
| Metric | Formula | Example (COGS = $22.10) |
|---|---|---|
| Markup % | (Price - COGS) / COGS × 100 | 100% markup = $44.20 price |
| Gross Margin % | (Price - COGS) / Price × 100 | $44.20 price = 50% margin |
A 100% markup and a 50% gross margin describe the exact same price point. Fashion brands typically target 50 to 65% gross margin at the wholesale level to cover operating expenses and remain profitable after overhead.
If your gross margin falls below 50% at wholesale, your business will likely struggle to cover operating costs once you account for returns, marketing, and overhead.
Apply keystone pricing as a starting point
Keystone pricing is the standard starting formula in wholesale apparel: you multiply your unit cost by two to reach your wholesale price, then multiply that by two again to reach the suggested retail price. Using the $22.10 COGS from the earlier example, keystone pricing works out like this:
- Wholesale price: $22.10 × 2 = $44.20
- Retail price: $44.20 × 2 = $88.40
This formula gives you a defensible baseline, but it is a starting point, not a fixed rule. If your production costs are low relative to your brand positioning, you can push your multiplier higher to capture more margin without pricing out of your target market. Premium brands regularly use 2.5x to 3x cost multipliers at wholesale without resistance from retail accounts.
Step 3. Price for wholesale and retail
Once you have a wholesale price and a suggested retail price from your markup formula, you need to structure those numbers into a clear pricing tier system. Most brands that sell through multiple channels make the mistake of treating their price list as a single figure, which creates conflict between what they charge retail buyers and what they charge their own direct customers.
Build separate price tiers for each channel
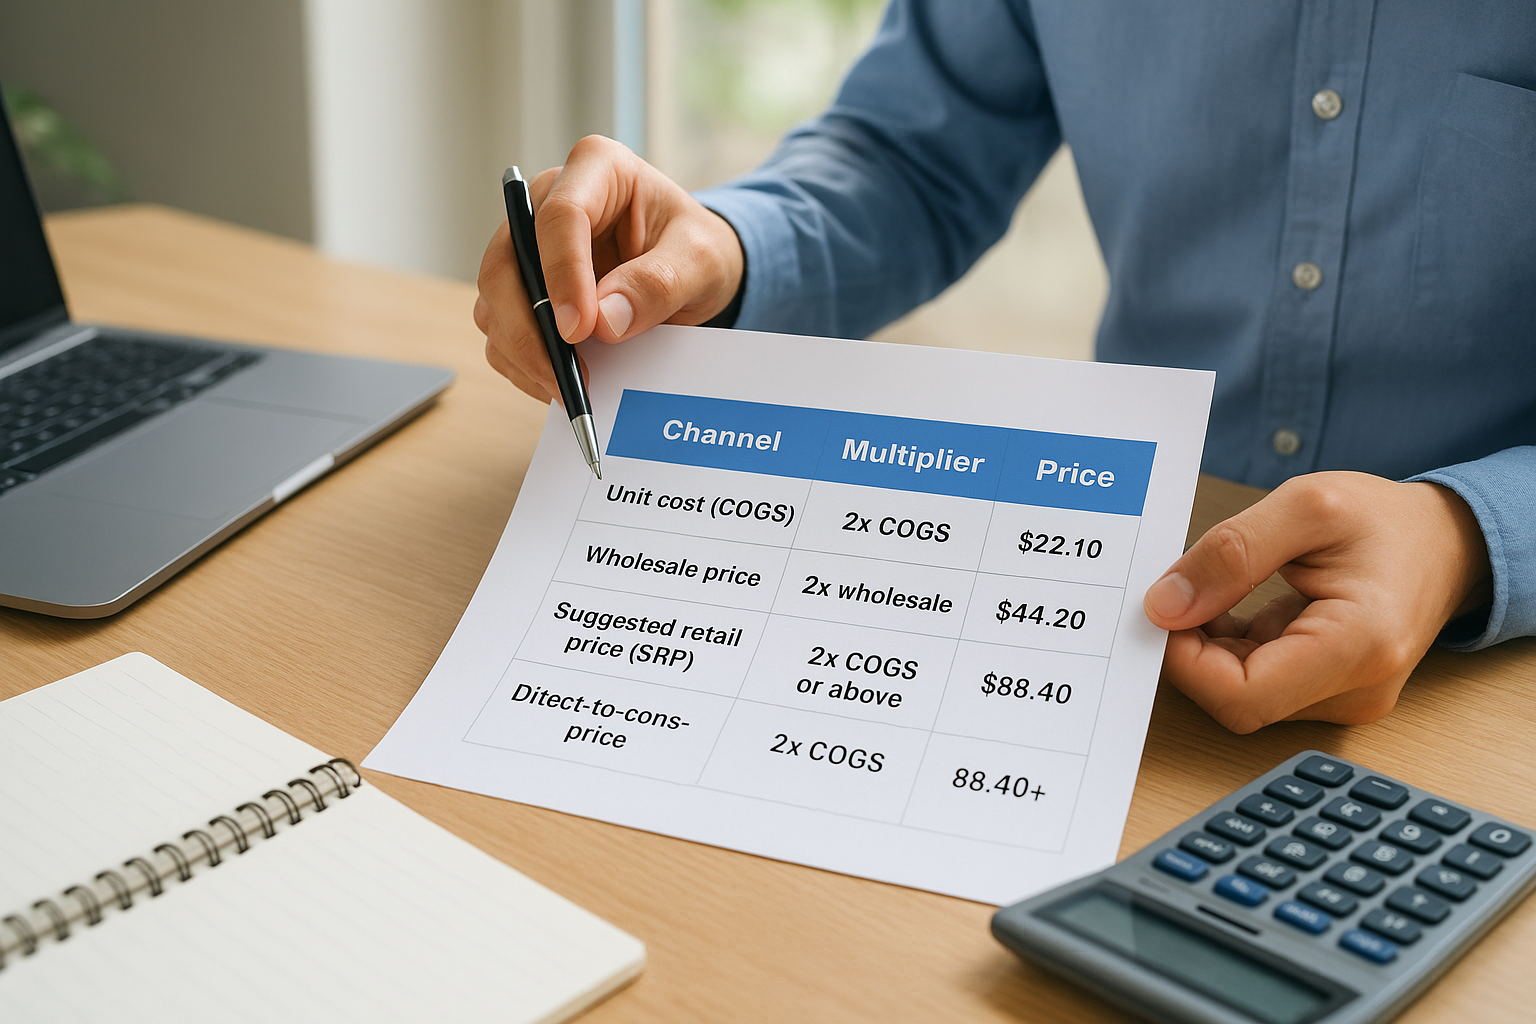
Your pricing structure needs at least two distinct tiers: a wholesale price for retail buyers and a direct-to-consumer price for your own store or website. Using the $22.10 COGS example from Step 1, here is how a clean two-tier price structure looks in practice:
| Channel | Multiplier | Price |
|---|---|---|
| Unit cost (COGS) | - | $22.10 |
| Wholesale price | 2x COGS | $44.20 |
| Suggested retail price (SRP) | 2x wholesale | $88.40 |
| Direct-to-consumer price | 2x COGS or above | $88.40+ |
If you sell directly to consumers, never price below your suggested retail price in your own store. Doing so undercuts the retail buyers who stock your product and puts your wholesale relationships at risk immediately.
Keeping your direct-to-consumer price at or above your SRP protects your retail accounts and keeps your brand positioning consistent across every channel.
Set a minimum advertised price policy
A MAP policy (minimum advertised price) tells your wholesale accounts the lowest price at which they can publicly advertise your garments. This prevents one retailer from discounting aggressively and dragging down the perceived value of your product across the market. Your MAP should sit at or close to your suggested retail price, not your wholesale price.
Communicate your MAP in writing before you accept any wholesale orders. A one-page document that states the MAP for each style by SKU is enough to put your accounts on clear notice. When you understand how to price a garment properly, setting a MAP from day one protects the margin structure you built at every step of this process.
Step 4. Validate against the market and adjust
Calculating a price from your cost sheet tells you what you need to charge. Checking that price against your actual market tells you what customers will accept. Understanding how to price a garment involves both sides of that equation, and skipping validation is how brands end up with technically correct prices that still fail to sell.
Check your price against competitors
Pull three to five direct competitors in your segment and record their retail prices for styles comparable to yours in terms of construction, fabric weight, and category. You are not trying to match them exactly. You are confirming that your SRP lands within the range your target customer already expects to pay for this type of product. If your price sits well above that range without a clear reason, such as superior material or a strong brand story, you will face resistance at the retail level.
Use this simple validation table to track your findings:
| Competitor | Style Type | Their Retail Price | Your SRP | Gap |
|---|---|---|---|---|
| Competitor A | Structured jacket | $110 | $88.40 | -$21.60 |
| Competitor B | Structured jacket | $95 | $88.40 | -$6.60 |
| Competitor C | Structured jacket | $79 | $88.40 | +$9.40 |
If your SRP falls more than 20% above the top of your competitive range and your brand is not yet established, you will need to either reduce costs or reposition before going to market.
Adjust without breaking your margin floor
When your price lands outside the acceptable range, you have two options: reduce your unit cost or revise your positioning to justify a higher price point. Do not lower your price by simply shrinking your margin. If your COGS is $22.10 and your margin floor is 50%, your absolute minimum wholesale price is $44.20. Cutting below that number to chase a competitor's price destroys the financial structure you built in the previous steps.
Work back through your cost sheet first and look for reductions in packaging, trims, or freight before you touch your retail price. Small changes in unit cost inputs often create enough room to bring your price in line without sacrificing the margins your business needs to function.
Wrap it up and move forward
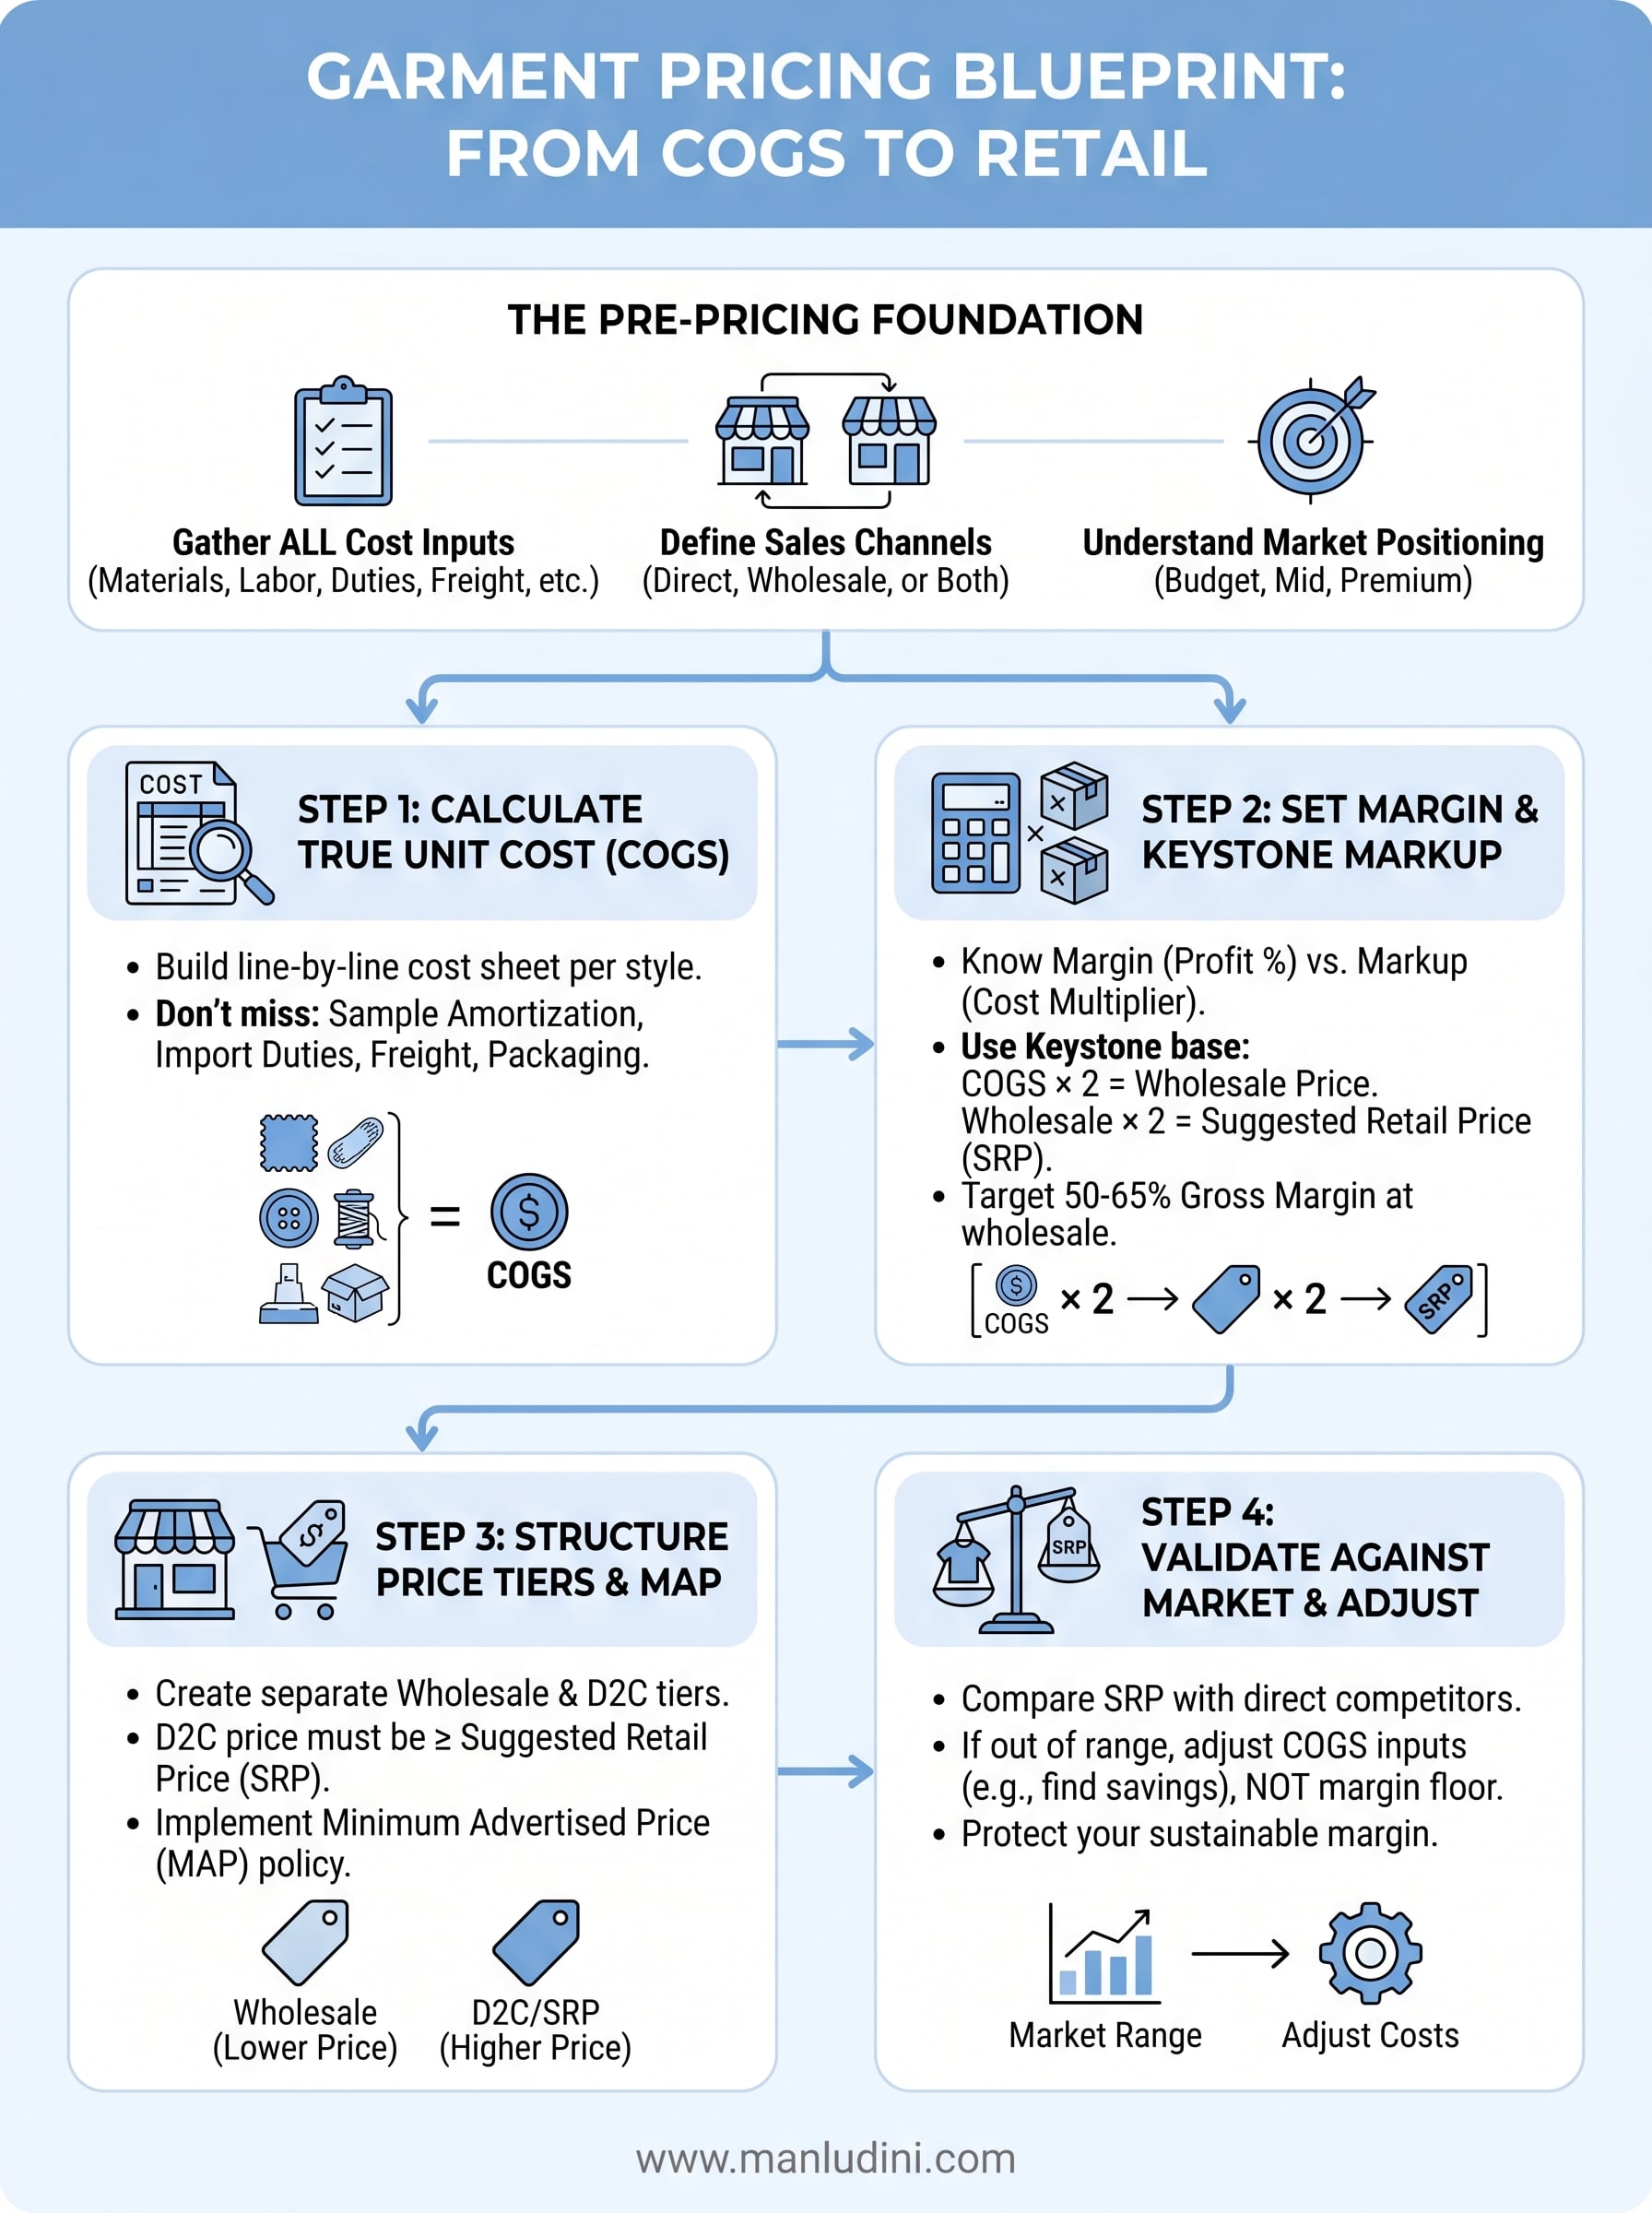
Knowing how to price a garment comes down to four connected steps: calculate your true unit cost, set a margin target that your business can actually sustain, structure separate price tiers for each sales channel, and validate your numbers against the real market before you commit. Each step builds on the one before it, so skipping any part of the process leaves your pricing on shaky ground.
Your cost sheet is only as accurate as the production inputs behind it. Reliable manufacturing data, including precise CMT costs, freight quotes, and duty rates, determines whether your margin math holds up or collapses when the invoices arrive. If you're still figuring out your production structure or need clearer cost visibility before you build your pricing, working with a manufacturing partner who communicates directly makes a real difference. Start your garment project with Manludini and get the production foundation your pricing depends on.
0 comments