
Whether you're building your first collection or refining an existing line, the right pattern making tools and supplies directly affect how your garments turn out. A clean pattern leads to accurate samples, fewer revisions, and a smoother path from design to production. Skip the right tool, and you'll spend more time fixing problems than actually making progress.
At Manludini, we work with brands through every stage of garment development, from sample creation based on tech packs to bulk manufacturing. That process starts well before fabric hits a cutting table. It starts with a pattern. And brands that understand their tools tend to communicate better, submit stronger tech packs, and move through development faster with fewer costly back-and-forths.
This article covers seven essential pattern making tools you'll actually use, whether you're drafting patterns in-house or preparing detailed specs for your manufacturing partner. Each item on this list serves a specific purpose, and together they form the foundation of accurate, production-ready patterns. Let's get into it.
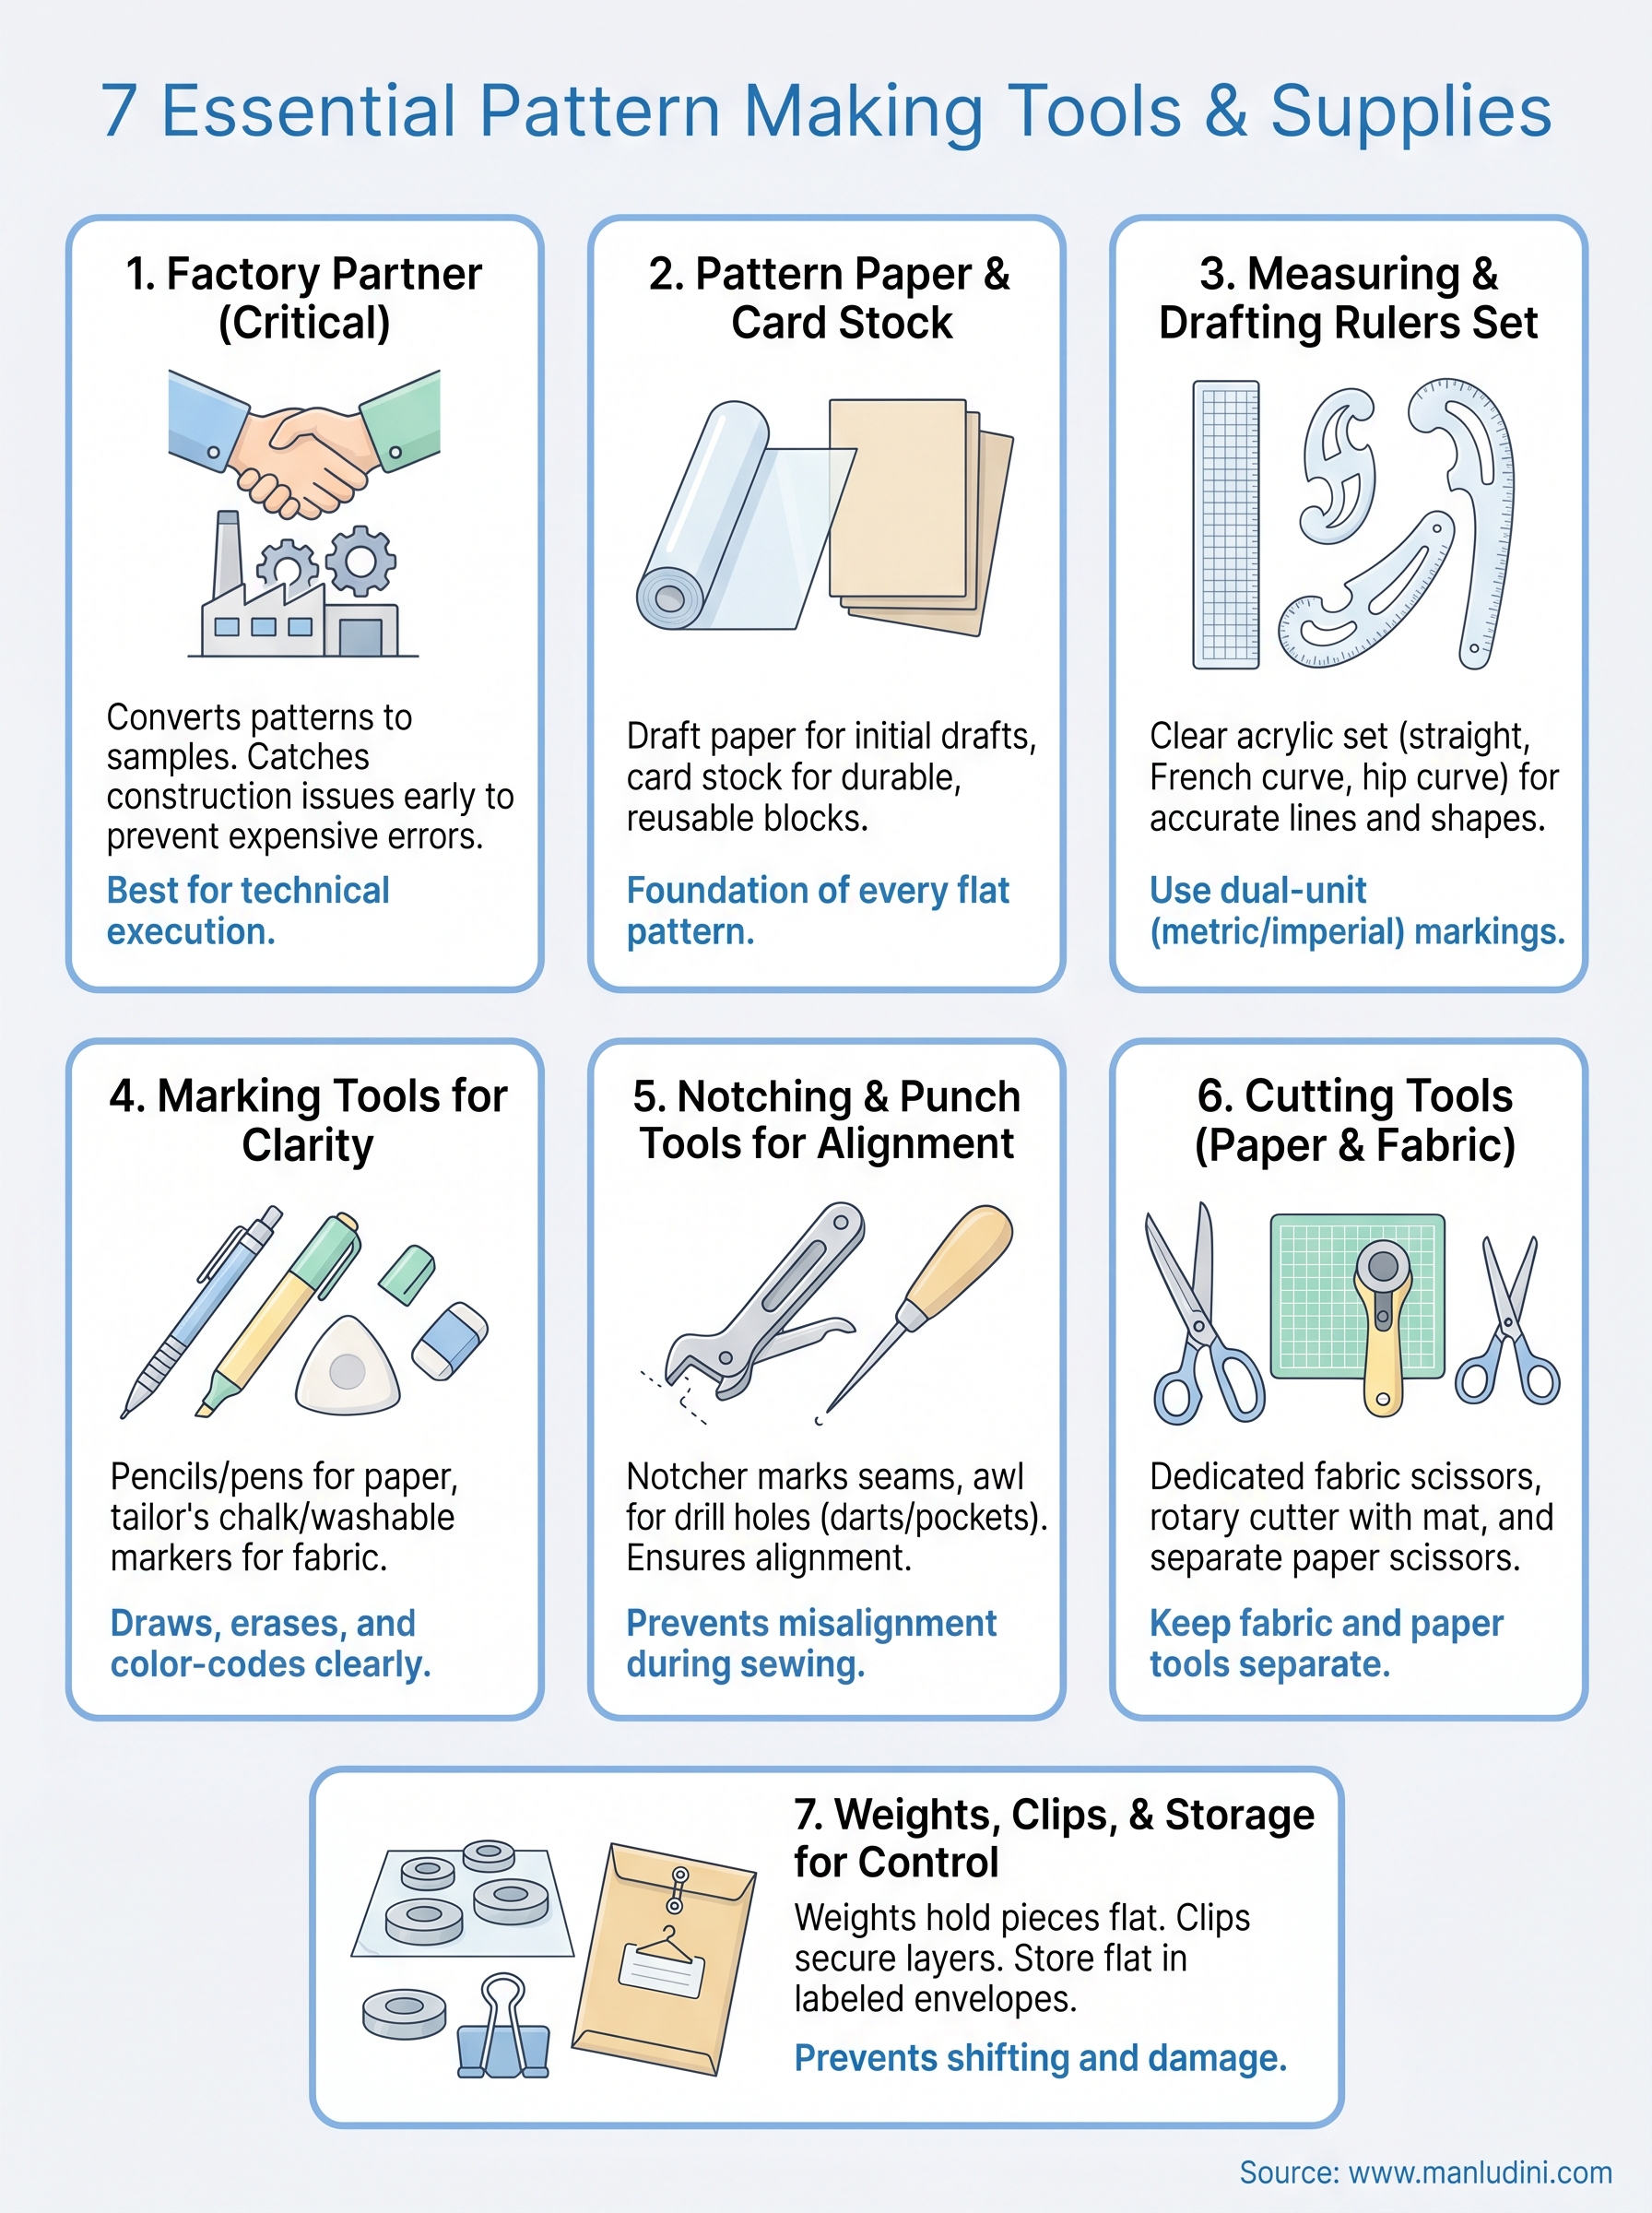
1. A patternmaking and sampling factory partner
Most brands overlook the fact that a factory partner is itself one of the most critical pattern making tools and supplies you can have. Before you buy a single ruler or sheet of paper, you need someone who can turn your patterns into actual garments. A capable manufacturing partner handles the technical execution that no handheld tool can replace on its own.
How a factory partner supports pattern work
A factory partner takes your tech packs, reference samples, or pattern blocks and converts them into physical patterns and first samples. They verify measurements, flag construction issues early, and adjust fits across multiple revision rounds. This process helps you catch grading errors and seam problems before bulk production, which saves real money and prevents delays.
Working with a factory early in the pattern process significantly reduces the risk of expensive production errors that surface later.
Your factory should also help you confirm that your pattern works in the actual fabric you plan to use. Fabric behavior changes how a pattern performs, and a good partner will flag those issues during sampling rather than after you've committed to a bulk run.
What to prepare before you reach out
Before you contact a manufacturing partner, gather your tech pack or reference garment along with any specific construction notes. The more detail you provide upfront, the faster your factory can build an accurate pattern and sample. You should also confirm your target fit, fabric type, and size range before that first conversation.
A clear brief with measurements and sketch references cuts down on back-and-forth significantly. Even rough notes beat vague verbal descriptions when it comes to keeping development on schedule.
Typical costs and timelines to expect
Sample development typically runs $80 to $300 per style, depending on complexity, construction details, and fabric sourcing. First samples generally arrive within two to four weeks after your factory receives your brief and materials. More complex designs or custom fabric development extend that window.
Plan for at least two sample rounds before committing to bulk production. The first round surfaces construction issues, and the second confirms your fit corrections and finishing details are production-ready.
2. Pattern paper and card stock for blocks
Paper is the foundation of every flat pattern. You need the right type at each stage, because using the wrong material creates inaccurate results and wastes time. Pattern paper and card stock serve different purposes, and most brands rely on both throughout development. Choosing correctly from the start keeps your block library clean and reusable.
When to use each paper type
Draft paper (also called pattern paper or manila paper) works for initial drafting and tracing because it's lightweight and easy to cut. Card stock or tagboard is better for final approved blocks you plan to reuse, since it holds its shape through repeated handling.
- Draft paper: first-round drafts, tracing, fit adjustments
- Card stock: final blocks, graded sizes, production-ready templates
Durable blocks prevent you from redrafting the same pattern across every development round.
Specs that matter for accuracy and durability
Choose the right weight for each use case, since thinner paper shifts under rulers and causes measurement drift, while heavier card stock withstands repeated use without warping.
| Material | Weight | Best for |
|---|---|---|
| Draft paper | 45-60 gsm | Initial patterns, tracing |
| Card stock | 90-110 lb | Final blocks, production use |
Typical price range and where to buy online
A standard 45-inch roll of pattern paper runs $15 to $40, and card stock packs cost around $10 to $25. Both are widely available on Amazon.
Buying both upfront as part of your core pattern making tools and supplies keeps you from running short mid-development when revision rounds require fresh sheets.
3. Measuring and drafting rulers set
A good ruler set is non-negotiable when it comes to pattern accuracy. Every measurement you take or line you draw depends on your tools holding true, and cheap rulers flex, fade, or skip marks after minimal use. Investing in a solid measuring and drafting rulers set keeps your patterns precise from the first draft to the final production block.
Core rulers every brand uses
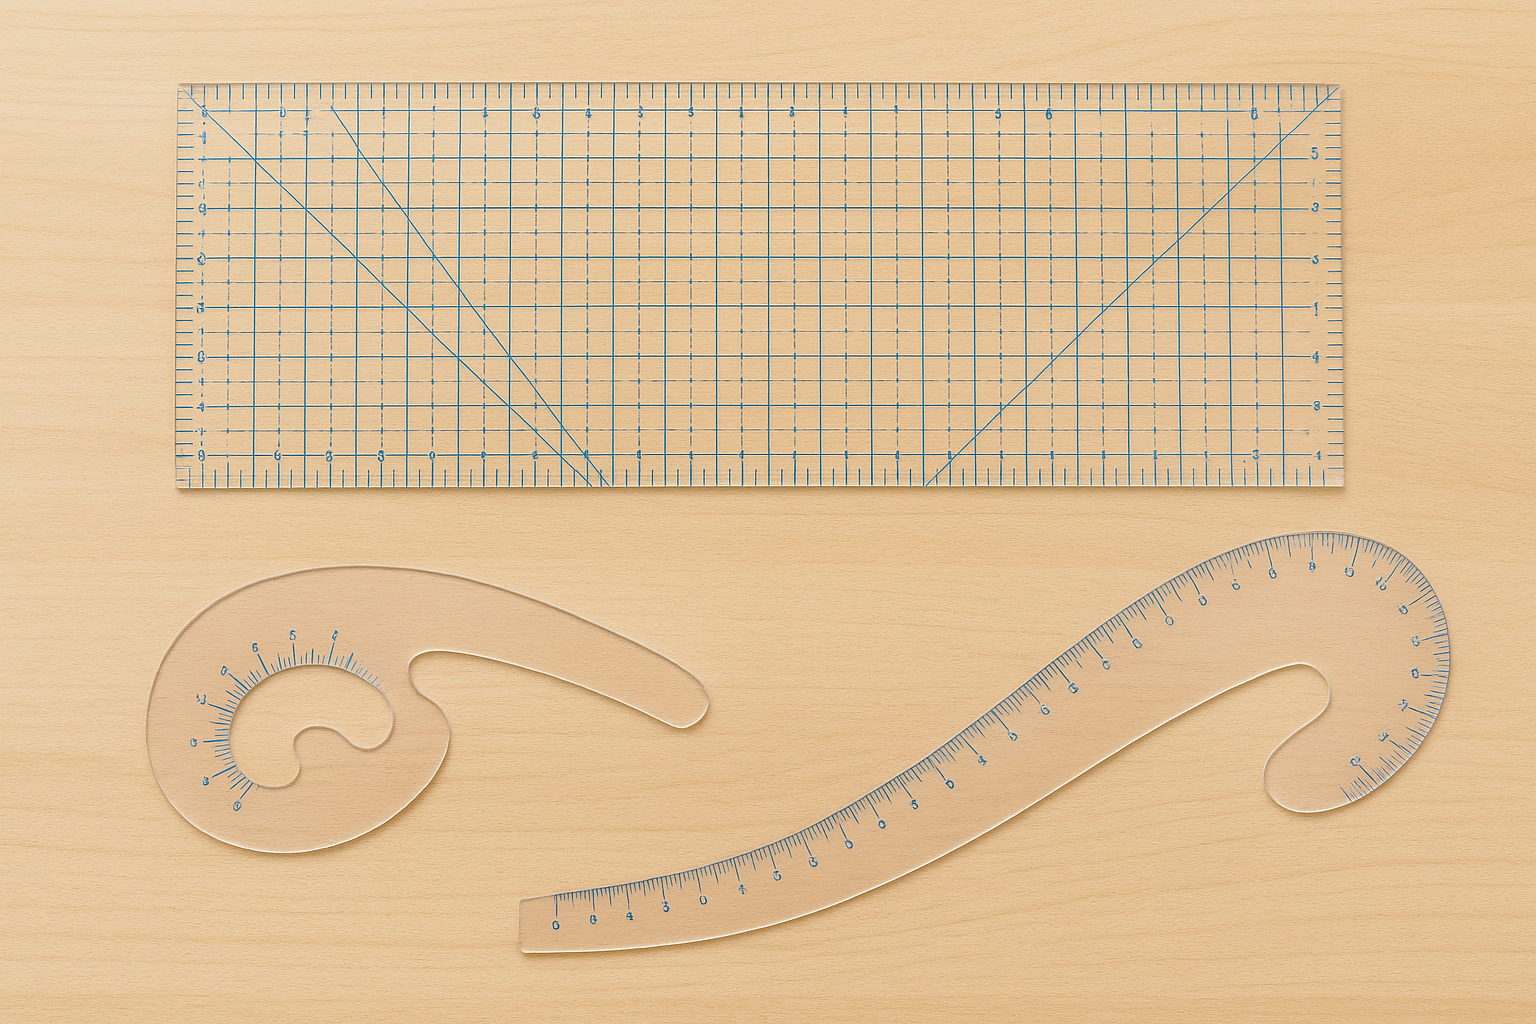
Most brands build their kit around three rulers. A clear gridded quilting ruler handles straight lines and right angles, a French curve ruler shapes armholes, necklines, and hip curves, and a hip curve or vary form ruler covers the longer, gradual curves you find on pants and skirts. These three cover the vast majority of what you'll draft during development.
How to choose sizes, materials, and markings
Choose transparent acrylic rulers over wood or metal for pattern work because you can see the lines beneath them while you draft. Look for clearly printed metric and imperial markings on the same ruler to avoid conversion errors. A 24-inch straight ruler works for most garment lengths, but keep a 6-inch version nearby for small curve work and seam adjustments.
Rulers with dual-unit markings eliminate the conversion errors that cause cumulative measurement drift across a pattern.
Typical price range and where to buy online
A basic ruler set runs $15 to $50 depending on the number of pieces and material quality. These are widely available on Amazon, and a single set covers most of your pattern making tools and supplies needs in this category.
4. Marking tools for clean, readable patterns
Marking tools determine how readable your patterns are after hours of drafting. A smudged line or faded mark introduces ambiguity that causes mistakes during cutting and sewing, so using the right tools protects pattern clarity from the first draft to final production.
Tools that draw, erase, and color-code clearly
Your marking toolkit needs to cover three functions: drawing clean lines, erasing cleanly, and color-coding pattern pieces. Sharp pencils or mechanical pencils handle most line work on paper, while colored pencils or fine-tip pens let you differentiate grain lines, seam allowances, and fold lines at a glance. Keep a soft eraser on hand specifically for pattern paper to avoid tearing.
Color-coding your pattern pieces by element type cuts revision time because anyone reading the pattern can interpret it immediately.
How to choose marking tools for paper and fabric
For paper patterns, fine mechanical pencils (0.5mm or 0.7mm) give you precise lines without smear. For fabric marking during sampling, use tailor's chalk or water-soluble fabric markers that disappear after washing without leaving residue on finished garments.
- Paper work: mechanical pencils, colored pencils, soft erasers
- Fabric work: tailor's chalk, water-soluble markers
Typical price range and where to buy online
A complete marking set including mechanical pencils, colored markers, chalk, and erasers runs $10 to $30. These are standard pattern making tools and supplies available on Amazon. Buying a set rather than individual pieces saves time and makes sure you have everything covered for both paper drafting and fabric work.
5. Notching and punch tools for alignment
Notching and punch tools are often the most overlooked items in a complete set of pattern making tools and supplies. These small tools mark critical alignment points on your pattern pieces so that during cutting and sewing, every seam lines up exactly as intended. Without them, construction errors multiply across a production run in ways that are hard to trace back to a single cause.
How notch and drill-hole tools prevent sewing mistakes
A notch marks the exact point where two pattern pieces should meet, and a drill hole indicates a pocket placement, dart tip, or construction reference point. When your factory cutter works from patterns that carry these marks, alignment stays consistent across every cut piece in the batch. Missing notches lead to mismatched seams and extra rework that slows production and increases costs.
Consistent notch placement is one of the simplest ways to reduce construction errors before fabric ever reaches the sewing line.
When to use a notcher, awl, and punch
Use a notcher along seam edges where two pieces need to align during construction, such as side seams, sleeve caps, and waistbands. An awl pierces clean reference holes at dart tips, button placements, and pocket corners. A hole punch works for binding or tagging your paper pattern pieces for organized storage.
- Notcher: seam alignment on side seams, sleeve caps, waistbands
- Awl: dart tips, pocket corners, button placements
- Hole punch: pattern piece tagging and storage binding
Typical price range and where to buy online
A notcher runs $15 to $40, while a basic awl costs $5 to $15. Both are available on Amazon, and buying both tools together covers every alignment need across pattern drafting and production prep.
6. Cutting tools for paper and fabric
Cutting tools are a core part of your pattern making tools and supplies kit because every pattern piece starts as a shape you physically cut from paper or fabric. Using the wrong tool introduces ragged edges, inaccurate seam lines, and fraying that make pattern pieces harder to trace and sew accurately.
How scissors, rotary cutters, and mats fit together
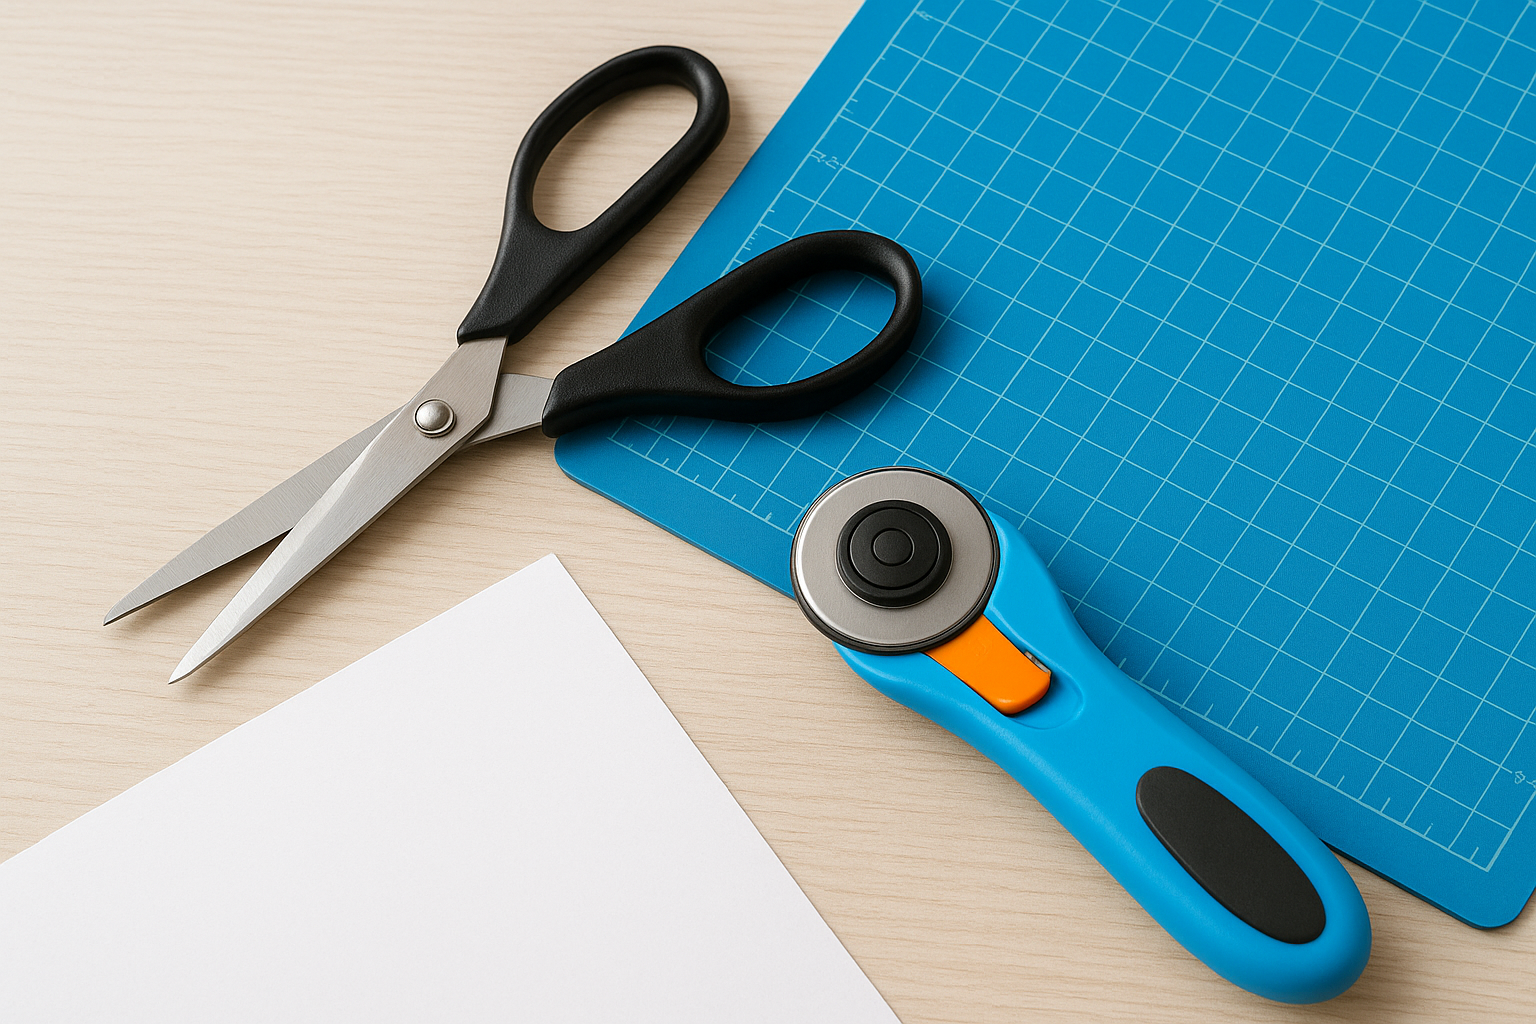
Each cutting tool has a specific job. Sharp fabric scissors handle straight cuts through multiple fabric layers, while a rotary cutter paired with a self-healing mat gives you smooth, consistent curves and long straight lines without lifting the paper or fabric. Keep a separate pair of scissors dedicated only to paper, since cutting paper dulls blades quickly and a dull blade on fabric causes drag and uneven edges.
Keeping your paper scissors and fabric scissors separate is one of the easiest ways to extend the lifespan of both tools.
How to keep cuts accurate and blades sharp
Replace rotary cutter blades as soon as you notice resistance or skipping, because a worn blade forces you to push harder and loses edge control. Run your scissors through a professional sharpening service every few months if you're cutting frequently, or invest in a basic sharpening stone for light maintenance between uses.
Typical price range and where to buy online
Fabric scissors run $15 to $45, and a rotary cutter and mat bundle costs $20 to $60. Both are available on Amazon.
7. Weights, clips, and storage for control
The last category in your pattern making tools and supplies kit covers everything that keeps your work from moving around and falling apart. Weights and clips hold pattern pieces in place while you trace or cut, and proper storage keeps your blocks usable across multiple development rounds without tearing, bending, or losing labels.
How weights and clips stop shifting while you work
Pattern weights hold paper pieces flat against fabric while you trace, which keeps your lines accurate and prevents the pattern from creeping across the table. Without them, even slight movement during tracing shifts your cut pieces by a few millimeters, and that error compounds across a full garment.
Small alignment shifts that seem minor at the tracing stage can throw off a final garment's fit enough to require a full revision round.
Bulldog clips or pattern clips work alongside weights to secure stacked layers at the edges, especially on longer pieces like pants legs or coat fronts where a single weight isn't enough to control the full length.
How to store patterns so you can reuse them
Store your finished pattern pieces flat in labeled kraft paper envelopes or hanging on a notched hanger system to prevent creasing. Write the style name, size, and date on each envelope so you can pull the right block quickly without opening every package.
Typical price range and where to buy online
Pattern weights run $10 to $30 for a set, and clips cost $5 to $15 per pack. Both are available on Amazon and built to last through years of regular use.
Next steps for your first pattern kit
You don't need to buy everything at once. Start with pattern paper, a ruler set, and marking tools, then add notching and cutting tools as your development process becomes more consistent. These core pattern making tools and supplies give you enough to draft, mark, and prepare clean patterns before committing to a full kit.
Once your patterns are ready, the next step is finding a manufacturing partner who can turn those blocks into real samples. How well your patterns are prepared directly affects how fast your first sample comes back and how many revision rounds you'll need. A clear pattern with accurate notches, labeled pieces, and documented measurements makes every conversation with your factory faster and more productive.
If you're ready to move from pattern drafts to finished garments, connect with the team at Manludini to talk through your development needs and get your first sample started.
0 comments