
Knowing how to design an embroidered patch starts well before any thread hits fabric. The artwork you prepare, shape, colors, stitch direction, text sizing, directly affects how your patch turns out in production. A design that looks sharp on screen can fall apart once it's digitized and stitched, especially if the technical limits of embroidery aren't built into the layout from the start.
Whether you're building branded patches for a clothing line, creating custom labels, or adding detail to a new collection, the design phase is where most problems begin, and where they're easiest to fix. Getting the artwork right saves you time, sample revisions, and production headaches down the line. At Manludini, we support brands through embroidery, trims, and garment finishing, so we've seen firsthand how design preparation shapes the final product.
This guide walks you through the full process: setting up your artwork, choosing stitch types, preparing files for production, and avoiding common mistakes that lead to poor results. You'll find practical steps whether you're working in graphic design software, using an online patch builder, or handing off files to a manufacturer for sampling and bulk production.
What makes an embroidered patch design work
Embroidery is a physical process. Thread has thickness, and needles move in fixed paths, so the rules that apply to screen printing or digital graphics don't carry over cleanly. When you understand what embroidery can and can't do at the design stage, you stop fighting the medium and start using it to your advantage. That's the core of knowing how to design an embroidered patch that holds up in real production.
Keep shapes simple and readable
The biggest mistake designers make is treating a patch like a tiny illustration. Fine details and thin lines that look crisp in a vector file will blur or disappear once they're stitched, because thread can't replicate a 1pt stroke the way a printer can. Solid, bold shapes hold their form across different production sizes and thread types.
If your design needs a magnifying glass to read at the intended patch size, it's not ready for embroidery.
Intricate outlines, tight curves, and small enclosed areas all create problems for the digitizer who converts your artwork into stitch paths. Simplifying your shapes isn't dumbing down your design. It's adapting it for the medium. A well-simplified patch often looks stronger than the original because every element carries visual weight.
Work within a limited color palette
Thread color selection is not like picking from a color wheel. Manufacturers work from standardized thread color systems, and your design needs to account for that early. The more colors you use, the more color stops the machine has to make, which adds production time and cost. Most well-executed patches use four to seven thread colors at most, with each color doing clear visual work.
You don't need to finalize thread color codes at the artwork stage, but you do need to limit your palette intentionally. Using flat, distinct colors in your design file makes it easier for the digitizer to assign thread matches accurately. Gradients, blends, and shadows in your artwork don't translate to embroidery unless they're converted to halftone dot patterns or stepped color blocks, which is a more advanced technique that adds real complexity and cost.
Build in contrast and scale from the start
Contrast between design elements is what makes a patch readable from a distance. Light text on a light background, or two similarly toned colors placed next to each other, will lose definition once stitched onto a backing fabric. You need to check your design at actual output size before you finalize anything, not just on a large monitor at full screen.
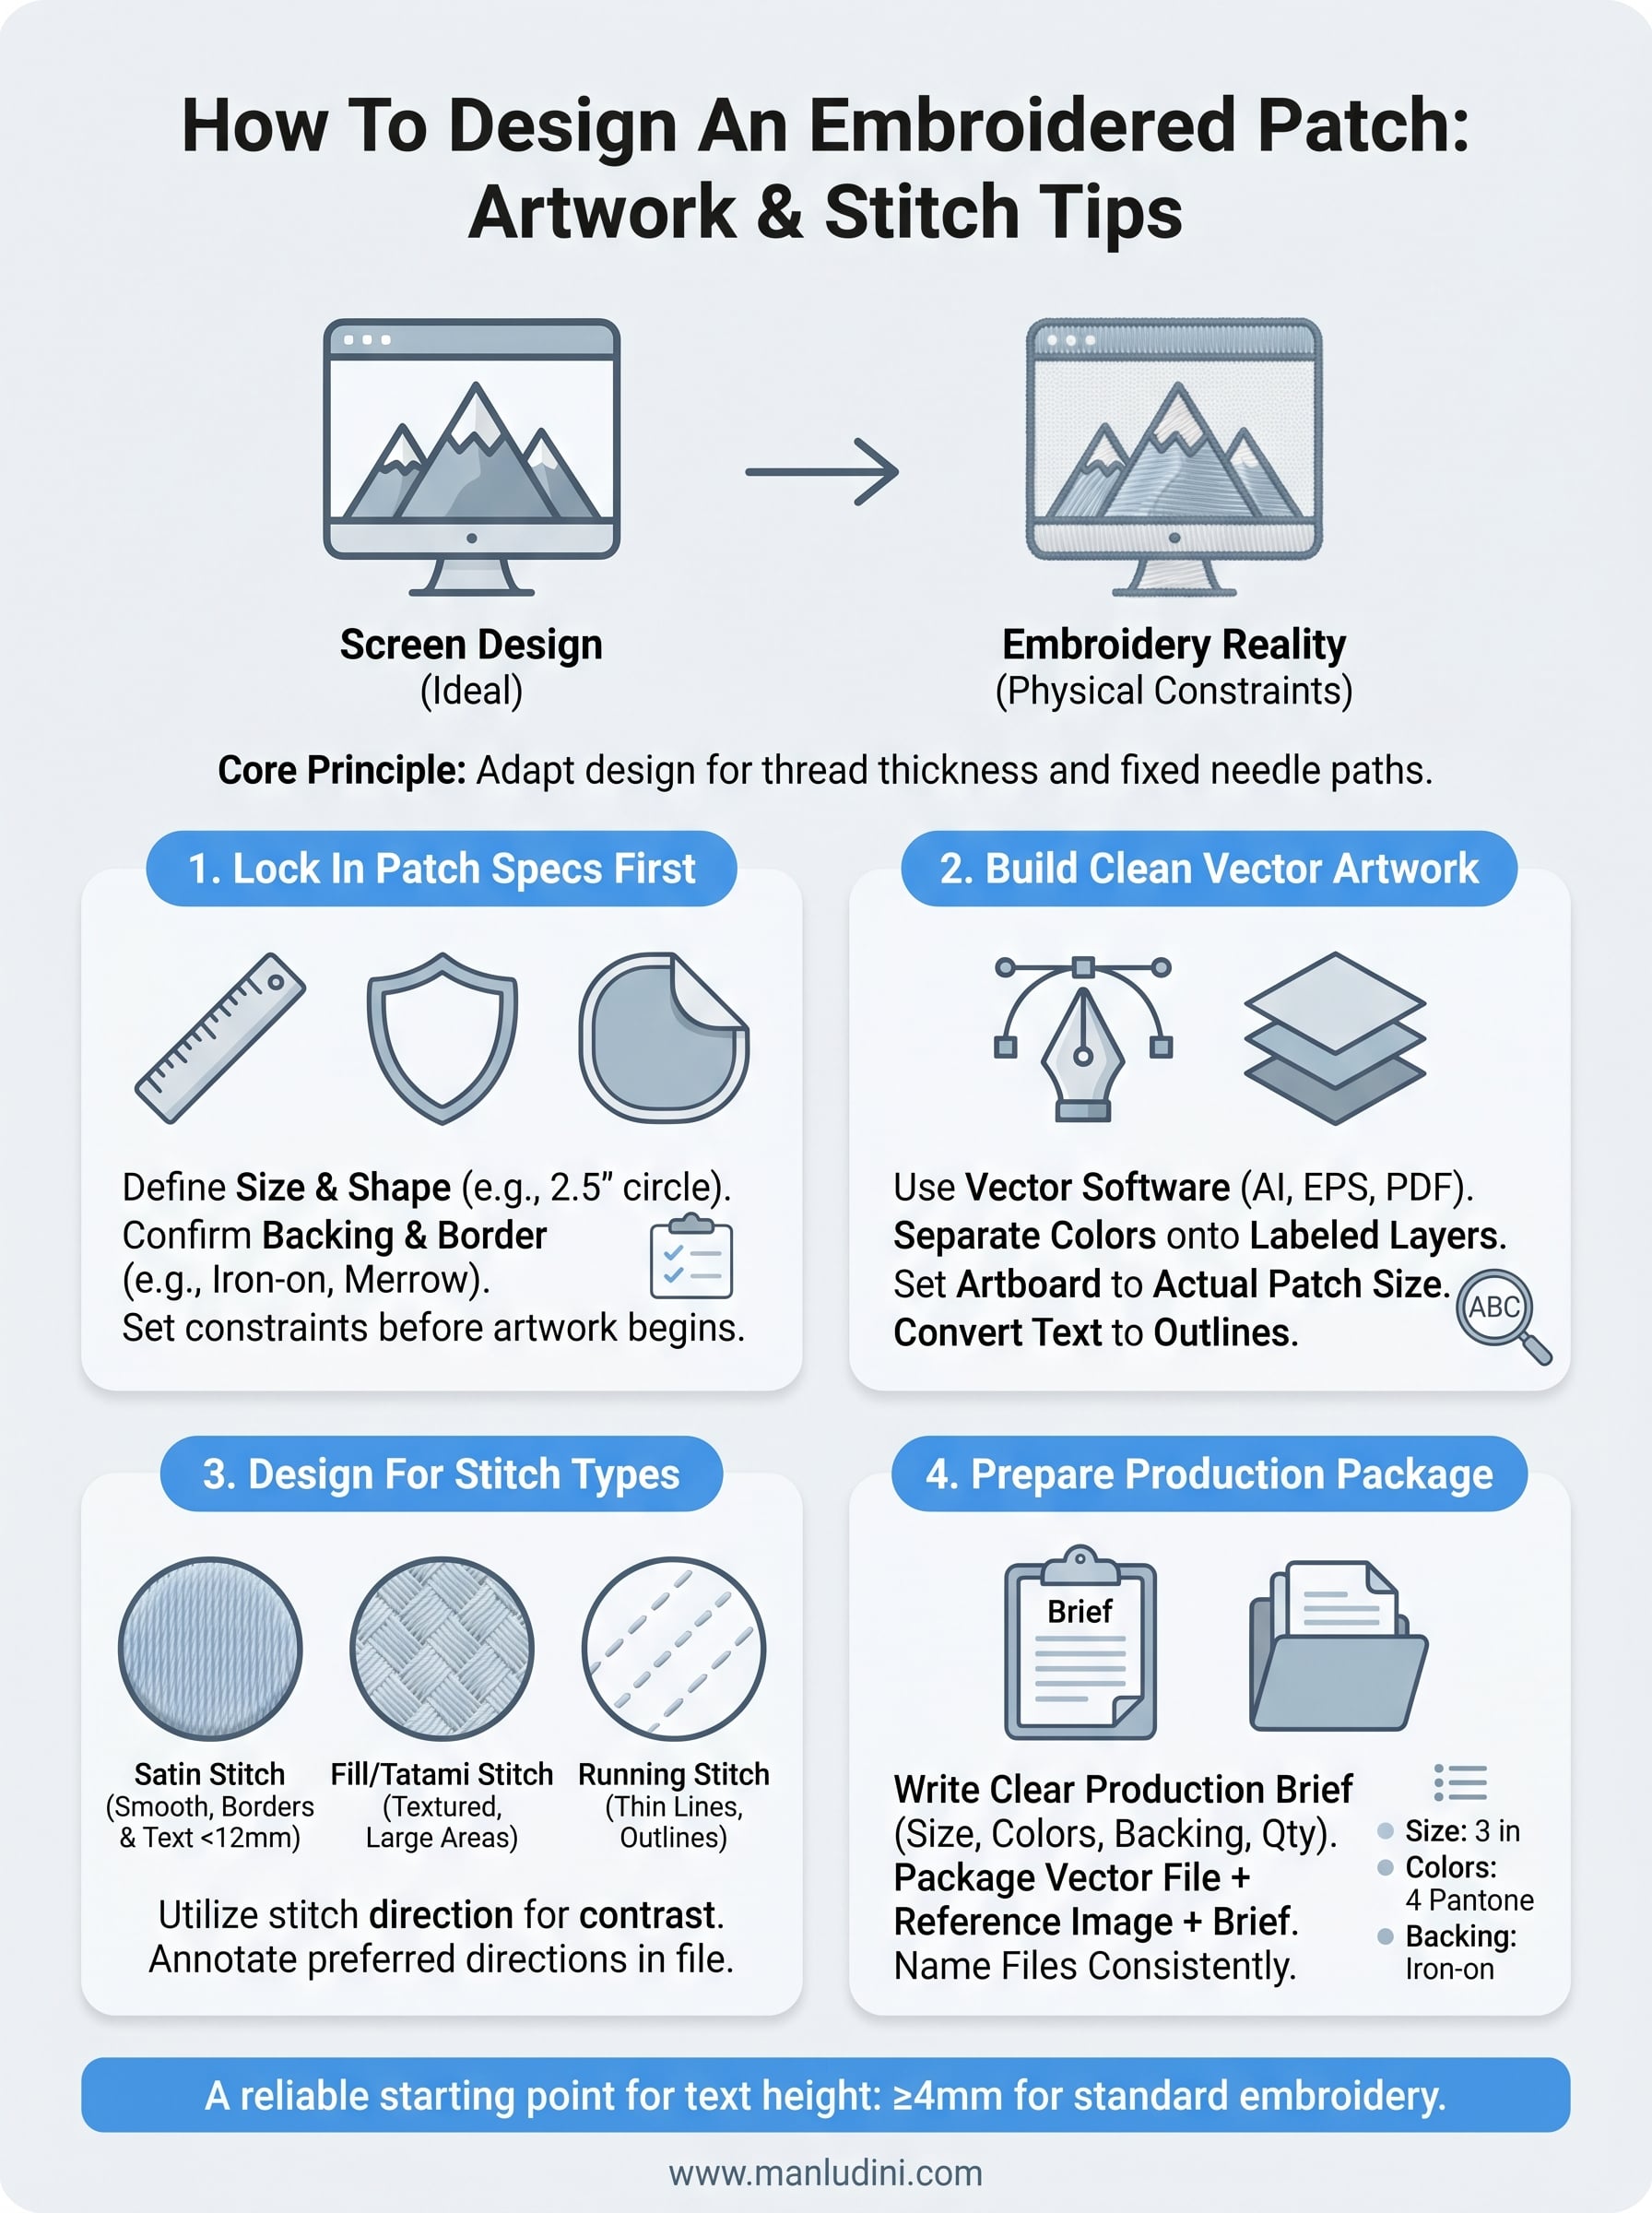
Scale matters more in patch design than in most other formats. A design that works at 5 inches may completely break down at 2 inches. Text especially suffers at small sizes, since individual letters need a minimum stitch width to stay legible. A reliable starting point is keeping text at or above 4mm in height for standard embroidery, and avoiding thin serif fonts entirely at small scales. Printing your artwork at 100% actual size gives you a fast, practical check before any files go to production.
Step 1. Lock in patch specs and constraints
Before you open any design software, you need to establish the physical parameters of your patch. The size, shape, backing type, and border style all directly affect how you set up your artwork. Skipping this step and designing first leads to rework when production details don't match what you built.
Finalizing your specs before building artwork eliminates at least one round of revisions in almost every project.
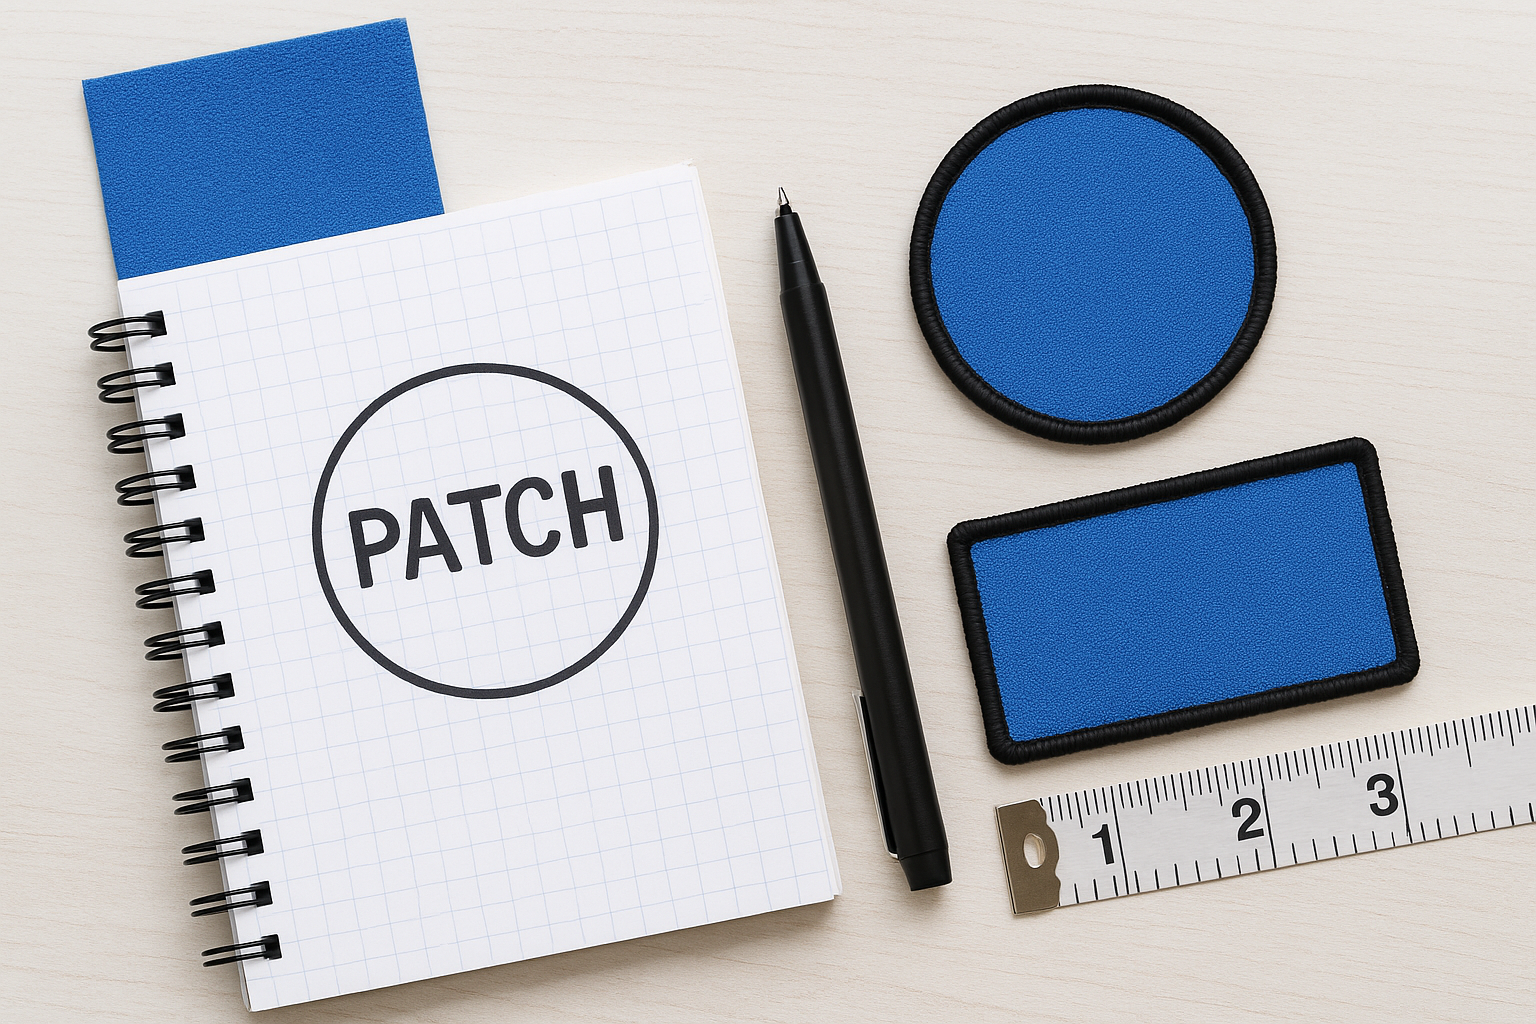
Define your patch size and shape
Patch size is the single most important constraint to nail down first. It determines how much detail you can include, how large your text needs to be, and how many colors can realistically work at that scale. Common patch sizes run from 1.5 inches to 4 inches across. A 2-inch patch operates under very different design limits than a 4-inch patch, so treating them the same in your artwork will cause problems when production starts.
Decide on your shape first, whether that's a circle, rectangle, shield, or a custom die-cut outline that follows your artwork's silhouette. Then confirm the exact dimensions in inches or centimeters. This table gives you a reliable starting point for managing design complexity by size:
| Patch Size | Minimum Text Height | Max Recommended Colors | Detail Level |
|---|---|---|---|
| 1.5 in | 5mm | 4 | Low |
| 2.5 in | 4mm | 5–6 | Medium |
| 4 in | 3mm | 7+ | High |
Confirm your backing and border type
Backing type affects how your patch attaches to a garment, and confirming it early keeps your design aligned with production requirements. Iron-on, sew-on, velcro, and adhesive backings are the most common options. If your brand or production partner requires a specific backing format, get that confirmed before you build your artwork file.
Border style matters just as much. A merrow border, the looped thread edge you see on most standard patches, adds roughly 3-4mm of visual frame around your design. A laser-cut or heat-cut border sits flush with the artwork edge. Both options change how far your design elements need to sit from the outer boundary, so build that clearance into your file from the start. Knowing these specs is a core part of understanding how to design an embroidered patch that moves through production without unnecessary delays.
Step 2. Build clean artwork in the right format
Your file format and software choice directly affect how cleanly your artwork transfers to the digitizing stage. Vector-based artwork gives a digitizer clean, scalable paths to work from, while raster files like JPEGs and PNGs lose sharpness when resized and require extra manual cleanup before production can start. Building your design correctly from the start is a practical part of knowing how to design an embroidered patch that moves through manufacturing without unnecessary delays or revisions.
Use vector software for all artwork
Vector software like Adobe Illustrator, CorelDRAW, or the free alternative Inkscape stores your shapes as mathematical paths rather than pixels. Your artwork stays sharp at any output size, and every curve, corner, and fill stays fully editable for the person handling your digitizing. If you're starting from a raster image, trace it manually inside a vector program rather than relying on an auto-trace function, which typically generates messy anchor points that slow down the digitizing process and create production errors.
Separate each color onto its own labeled layer in your file. This makes it fast for a digitizer to identify stitch zones and assign thread colors without hunting through your document. Use clear layer names like "red fill," "navy outline," or "white text" so there's no guesswork on the production side.
Set up your file for a clean production handoff
Set your artboard to the exact finished patch size, not a scaled-up version. If your patch is 3 inches wide, your artboard should be 3 inches wide. Working at actual size forces you to notice text or fine detail that's too small to survive the stitch process before your file ever leaves your computer.
Converting all fonts to outlines before you send the file removes any risk of font substitution on the production side.
Before you export, work through this checklist:
- Expand all strokes so borders become filled shapes, not line weights
- Convert all text to outlines to lock in letterforms
- Remove hidden layers, guides, and unused color swatches
- Save as AI, EPS, or PDF for the cleanest handoff to production
- Label the file with the patch name, size, and version number
Running through this list each time keeps your files consistent and reduces back-and-forth with your manufacturer.
Step 3. Design for embroidery stitches, not screens
Most artwork gets designed for screens and then handed to a digitizer with the assumption that everything will translate cleanly. It won't. Embroidery uses three main stitch types, and each one behaves differently in terms of how it fills space, holds detail, and reads at small sizes. Understanding these basics before you finalize your artwork helps you design shapes and layouts that work with the stitching process instead of against it.
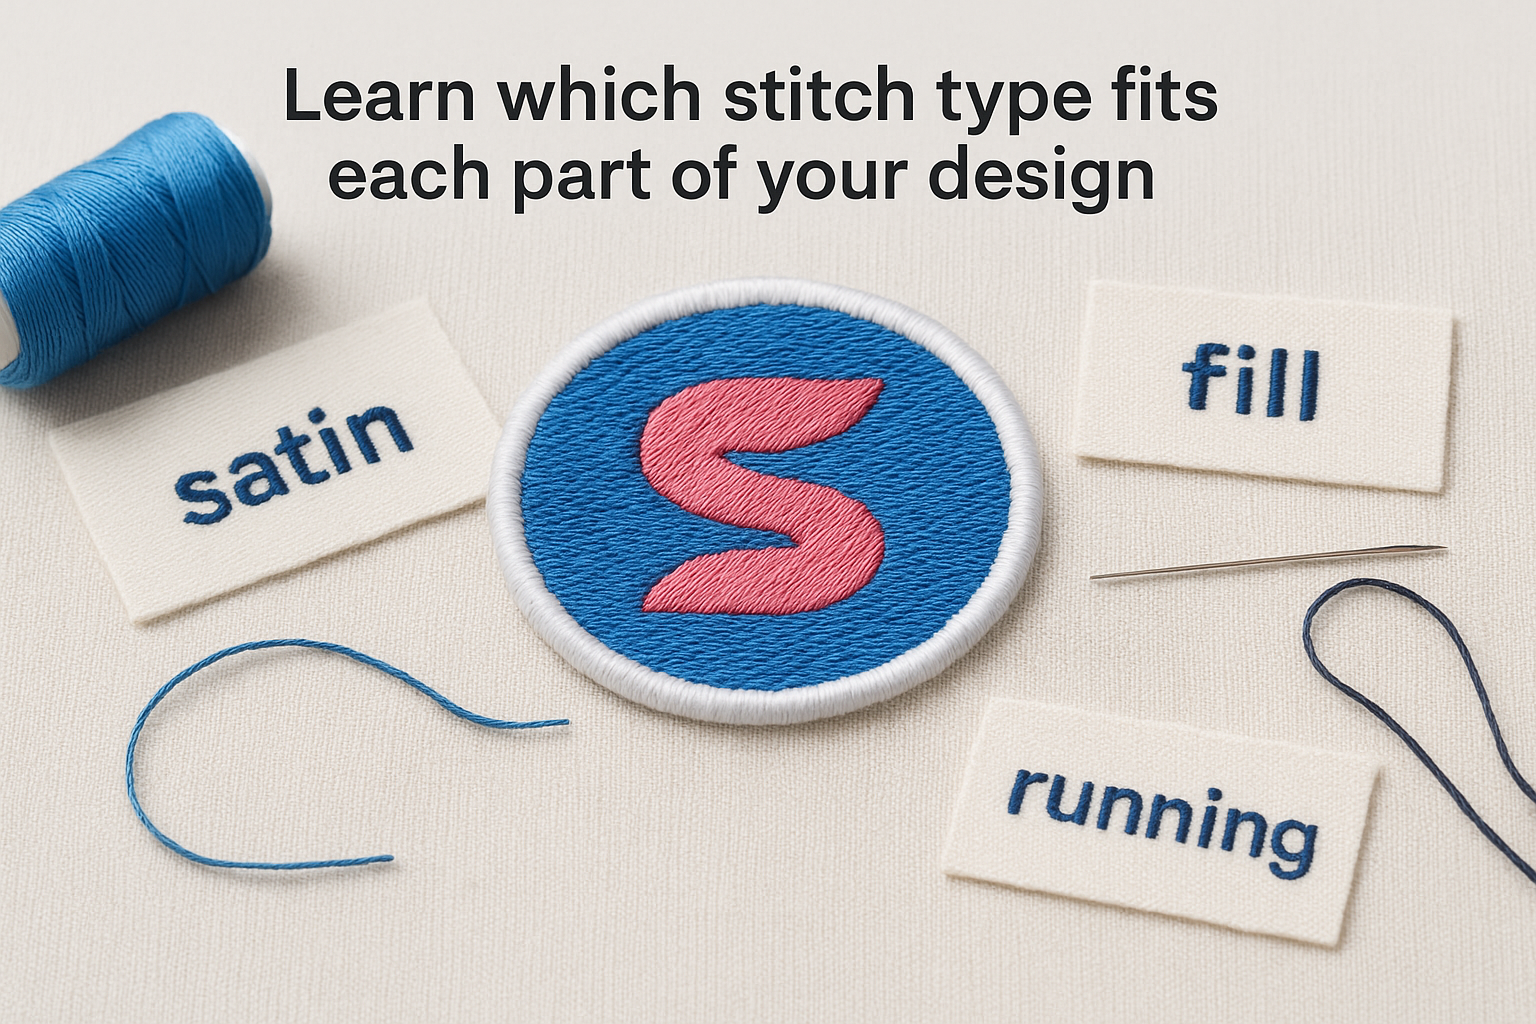
Learn which stitch type fits each part of your design
Every part of a patch gets assigned a stitch type during digitizing. Satin stitches run in parallel columns and work well for borders, text, and narrow shapes up to about 12mm wide. They produce a smooth, shiny finish and carry sharp edges cleanly. Fill stitches, sometimes called tatami stitches, cover large flat areas with rows of short stitches in a repeating pattern and hold their shape without pulling the backing. Running stitches handle fine outlines and detail lines, but they carry the least visual weight of the three.
| Stitch Type | Best Used For | Width Limit | Surface Finish |
|---|---|---|---|
| Satin | Text, borders, narrow fills | Up to 12mm | Smooth, shiny |
| Fill / Tatami | Large background areas | No practical limit | Flat, textured |
| Running | Outlines, fine detail lines | Single thread width | Thin, minimal |
Build your design with these three stitch zones in mind from the start, and your digitizer will have a much cleaner path to follow.
Design for stitch direction and visual impact
Stitch direction is one of the most underused tools when learning how to design an embroidered patch. Changing the angle of fill stitches across adjacent shapes creates contrast and dimension without adding extra colors. Running background fill horizontally and foreground shapes vertically, for example, makes two elements read as distinct even when the thread colors are close in tone.
Your artwork won't show stitch direction, but you can note it in your production brief. Adding direction annotations to your file, such as "45-degree fill" or "vertical satin," gives your digitizer clear instructions. A brief stitch direction note on each major design zone reduces interpretation errors and keeps your finished patch aligned with what you originally intended.
Step 4. Prepare files for digitizing and production
Once your artwork is clean and your specs are confirmed, the final step in learning how to design an embroidered patch is putting together a complete production package. Sending artwork alone is rarely enough. Your manufacturer or digitizer needs context about size, colors, backing type, and any stitch direction notes before they can accurately convert your file into a stitch-ready format.
Write a clear production brief
A production brief removes guesswork from the handoff and cuts down on back-and-forth emails. Think of it as a one-page document that travels alongside your artwork file and answers every question a production team might ask before sampling starts.
A well-written brief often eliminates the first round of sample corrections before a single thread is stitched.
Your brief should cover the following:
- Patch size: Exact dimensions in inches or centimeters
- Shape: Circle, rectangle, custom die-cut, or other
- Thread colors: Pantone or thread system color codes for each element, or written descriptions if codes aren't available
- Backing type: Iron-on, sew-on, velcro, or adhesive
- Border style: Merrow, laser-cut, or heat-cut
- Stitch direction notes: Any specific fill angles or satin directions for key design zones
- Quantity: Sample count and expected bulk order volume
- File name and version: So both sides are referencing the same revision
Filling out each line forces you to confirm all your decisions before production starts, not after the first sample comes back wrong.
Package and send your files correctly
Folder organization matters more than most buyers realize. When you send files, keep everything in one clearly labeled folder that contains your vector artwork file, a low-resolution reference image (PNG or JPEG) showing what the final patch should look like, and your completed production brief. Name everything consistently, such as "PatchName_v1_3in" so your manufacturer can track versions without confusion.
File format should be AI, EPS, or PDF for vector artwork. Avoid sending layered PSD files unless your manufacturer specifically requests them, as they require extra processing time. Confirm with your production partner whether they handle digitizing in-house or whether you need to source a separate digitizing service before your files go into their queue.
Wrap-up and next steps
Learning how to design an embroidered patch comes down to making decisions early: locking in your size, simplifying your shapes, building clean vector artwork, and sending a complete production brief with your files. Each step in this guide reduces the gap between what you design on screen and what arrives as a finished patch from the factory.
Your design work only goes as far as your production partner can take it. Working with a manufacturer who understands embroidery at the sample and bulk level keeps your patches consistent across the full order, not just the first sample. If you're ready to move from artwork to production, contact the Manludini team to discuss your patch project, whether you need sampling support, bulk embroidery production, or help coordinating trims and custom labels alongside your garments.
0 comments