
A single missed defect, a crooked seam, a mislabeled size, a fabric flaw, can turn a promising bulk order into a costly headache. That's exactly why having a solid garment quality control checklist matters before any shipment leaves the factory floor. Without clear inspection criteria, problems slip through, returns pile up, and your brand takes the hit.
At Manludini, we work alongside brands through every stage of production, from sampling to bulk manufacturing. Quality control isn't a separate step we bolt on at the end, it's built into how we operate. That hands-on experience has taught us exactly where things go wrong and what to look for before it's too late.
This guide breaks down the specific inspection points you should be checking across fabric, stitching, measurements, construction, labeling, and packaging. Whether you're building your own QC process from scratch or tightening up an existing one, you'll walk away with a practical, point-by-point framework you can put to work on your next production run. Let's get into the details that protect your product, and your reputation.
What a garment QC checklist covers
A garment quality control checklist is a structured document that tells you and your production team exactly what to inspect, measure, and verify before approving any goods. It removes guesswork from the process. Without one, different inspectors check different things, critical flaws fall through the gaps, and defects reach your customer. A solid checklist gives every inspection the same standard, whether you're reviewing a 50-piece sample run or a 5,000-piece bulk order.
Fabric and material quality
The first category covers everything before a single stitch is sewn. Fabric inspection focuses on raw material defects: holes, staining, uneven dyeing, pilling, and incorrect weight or fiber composition. You want to catch these issues early because once fabric is cut and sewn, the cost of reworking or scrapping climbs fast. Your checklist should also cover trim verification to confirm that buttons, zippers, elastics, and labels all match the approved specs for color, material, and function.
Catching a fabric defect before cutting saves you from scrapping entire finished garments.
Key fabric and trim points to check:
- Fabric color consistency across rolls
- Surface defects (holes, snags, stains)
- Fabric weight and composition against spec
- Zipper functionality and color match
- Button quality and shank durability
Construction and stitching
This section covers how the garment is actually built. Stitch quality points include stitch density (stitches per inch), thread tension, thread color matching, and the presence of skipped or broken stitches. Construction points go further: seam allowances, seam strength, bartacking at stress points, and whether raw edges are properly finished. Symmetry checks also belong here since collar alignment, pocket placement, and sleeve balance all affect how the garment looks and performs in the real world.
Construction points your checklist should cover:
- Stitches per inch against approved standard
- Seam strength at stress points
- Bartack placement (pockets, belt loops, crotch)
- Collar and placket alignment
- Clean edge finishing on all seams
Measurements, labeling, and packaging
Every garment needs to be measured against an approved size specification sheet. List each measurement point (chest, length, sleeve, waist, hip) alongside the tolerance range acceptable for each one. A garment 1 cm off at the chest might be acceptable; 3 cm off is a size problem your customer will notice. Beyond measurements, label checks confirm that care instructions, fiber content, country of origin, and size labels are correctly placed and match your approved artwork. Packaging inspection wraps up the checklist by verifying that hang tags are attached, barcodes scan correctly, polybags are the right size, and carton labels match your order details exactly.
Step 1. Set standards before production
QC starts before production begins, not at the end of it. Every inspection on your garment quality control checklist depends on having a clear approved standard to measure against. Without that reference, inspectors have no baseline, and judgment calls replace objective criteria. Getting your standards documented upfront is the single most effective thing you can do to reduce defects in bulk.
The clearer your standards before production starts, the fewer surprises you'll deal with at final inspection.
Lock in your approved sample and tech pack
Your approved pre-production sample and tech pack are the two documents your inspection team will refer back to throughout the entire production run. The approved sample sets the visual and construction benchmark. The tech pack defines the measurements, materials, trims, stitching specs, and tolerance ranges. Both need to be finalized and signed off before bulk cutting starts. If either document is incomplete, those gaps will show up during production.
Make sure your tech pack includes:
- Measurement spec sheet with tolerance ranges for each point of measure
- Fabric and trim specs with approved color standards
- Construction details (stitch type, stitches per inch, seam allowance)
- Label placement and approved artwork files
- Packaging requirements (polybag size, carton spec, barcode format)
Define your defect classification
Not every defect carries the same weight, so your standards need to classify defects by severity before production starts. The standard approach uses three levels: critical, major, and minor. A critical defect is anything that makes a garment unsafe or completely unwearable, such as a missing snap on a child's garment. A major defect affects function or appearance significantly, like an off-grain seam or a broken zipper. A minor defect is a small cosmetic issue that most customers would accept without complaint. Setting these definitions upfront tells your QC team when to reject a batch outright versus when to flag it for review.
Step 2. Inspect during production
Waiting until goods are finished to run your first inspection is one of the most expensive mistakes in apparel production. In-process quality control lets you catch defects while there's still time to correct them without scrapping finished goods. Build these checkpoints into your garment quality control checklist from the start, not as a single end-of-line review, but as structured checks that run while sewing is still active.
Set Up Inline Inspection Points
Your production team should be checking work at multiple points in the sewing line, not just at the start and end. A practical approach is to flag every 50th to 100th completed piece for a quick check against your approved sample. Focus these inline checks on the defects most likely to repeat: stitch consistency, seam alignment, and critical measurements like chest and length. If the same issue shows up on three consecutive pieces, stop the line and correct the root cause before it multiplies across the entire run.
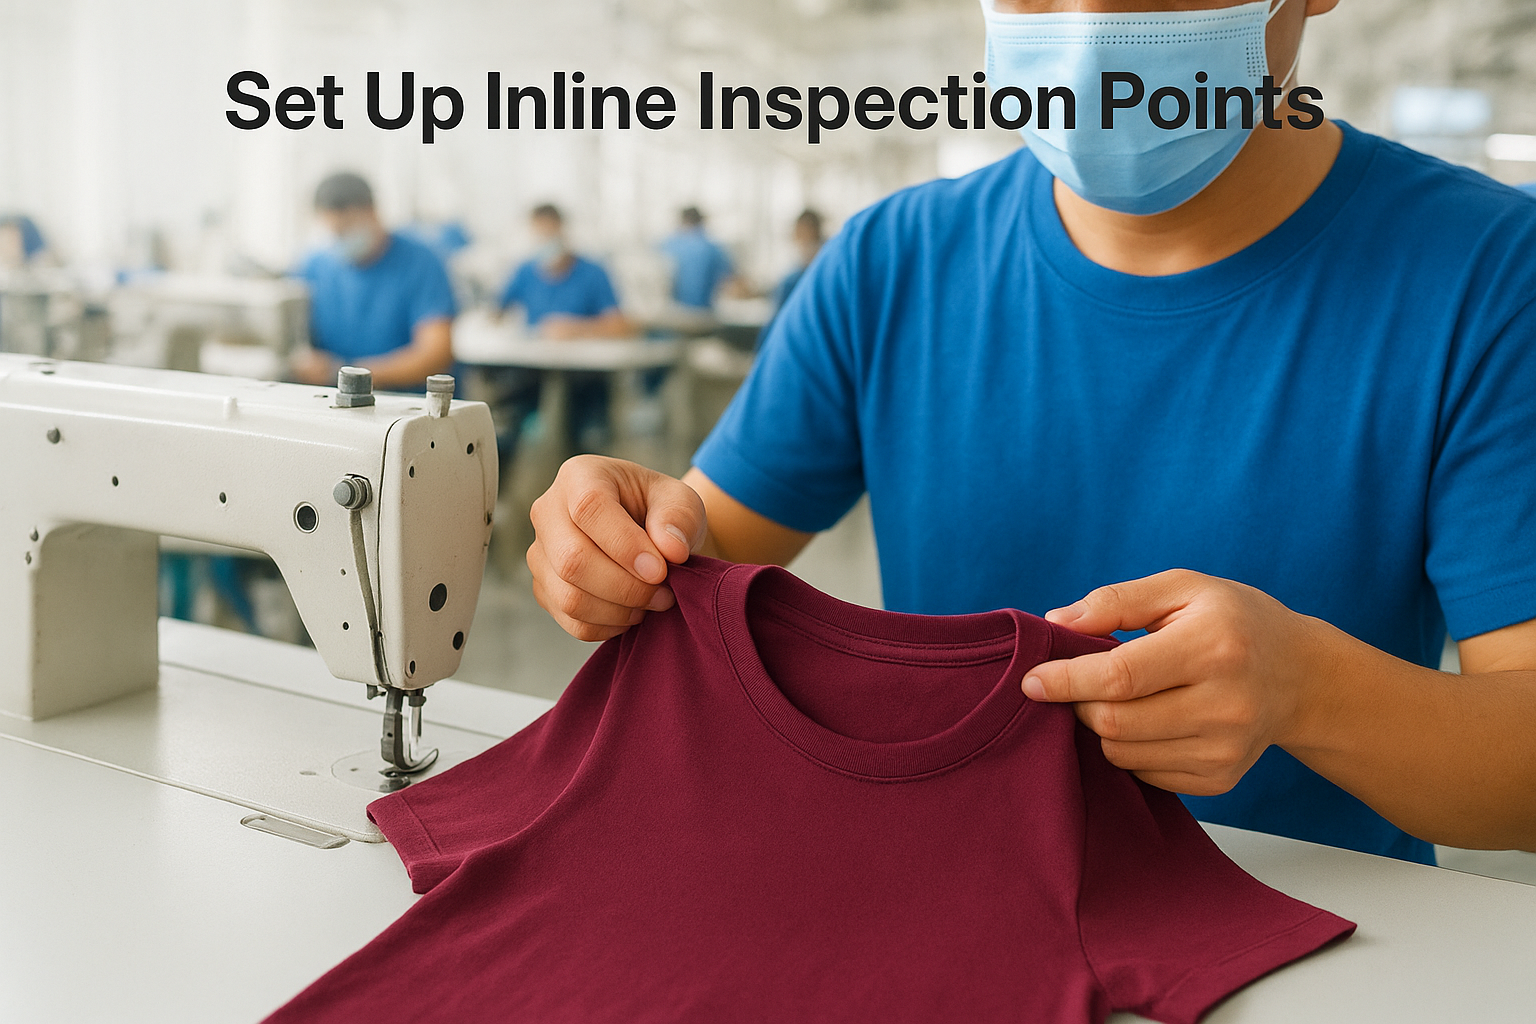
Catching a recurring defect mid-production saves far more time than sorting a finished bulk lot after the fact.
Inline inspection points to cover:
- Seam alignment and stitch density
- Measurement accuracy at key points (chest, length, sleeve)
- Thread tension and color consistency
- Correct placement of pockets, buttons, and bartacks
Apply AQL Sampling to Batch Reviews
Once a production batch is complete, apply AQL (Acceptable Quality Level) sampling to evaluate that batch before it moves to the next stage. AQL sampling gives you a statistically reliable way to decide whether a lot passes or fails based on a defined sample size and acceptable defect rate. For most apparel brands, AQL 2.5 is the standard for major defects, meaning you accept no more than 2.5 defects per 100 units. Use your defect classification from Step 1 to score each piece you pull from the batch.
Step 3. Run final inspection before shipment
The final inspection is your last chance to catch problems before goods leave the factory. At this stage, your garment quality control checklist should cover the finished product in its complete state: garments are sewn, washed, pressed, labeled, and packed. This inspection reviews everything together, not in isolation, so a piece that passed inline checks can still fail here if the packaging is wrong or labels are missing.
A final inspection that skips packaging and labeling will miss some of the defects your customer notices first.
Check the Full Garment Against Spec
Pull your AQL sample from the finished, packed lot and evaluate each piece against your approved sample and tech pack. This is a complete review covering construction, measurements, finishing quality, and appearance. Check measurements at every spec point listed on your size sheet: chest, length, sleeve, and waist. Classify every defect you find using the critical, major, and minor scale you defined in Step 1.
Full garment inspection points:
- Measurements against spec sheet at all listed points of measure
- Seam strength and finishing quality
- Symmetry of collar, pockets, and sleeves
- Correct trims (zippers, buttons, elastics) functioning as specified
- Surface appearance: free of staining, pulls, and loose threads
Verify Labels, Tags, and Packaging
Label and packaging errors are among the most common reasons brands face returns or customs delays. Check each piece for correct size labels, care instructions, fiber content, and country of origin against your approved artwork. Confirm that hangtags are attached properly, barcodes scan without error, and polybags match the approved size. For cartons, verify that the outer label matches your purchase order details: style, color, size breakdown, and quantity. A single wrong carton label can cause receiving delays at your customer's warehouse.
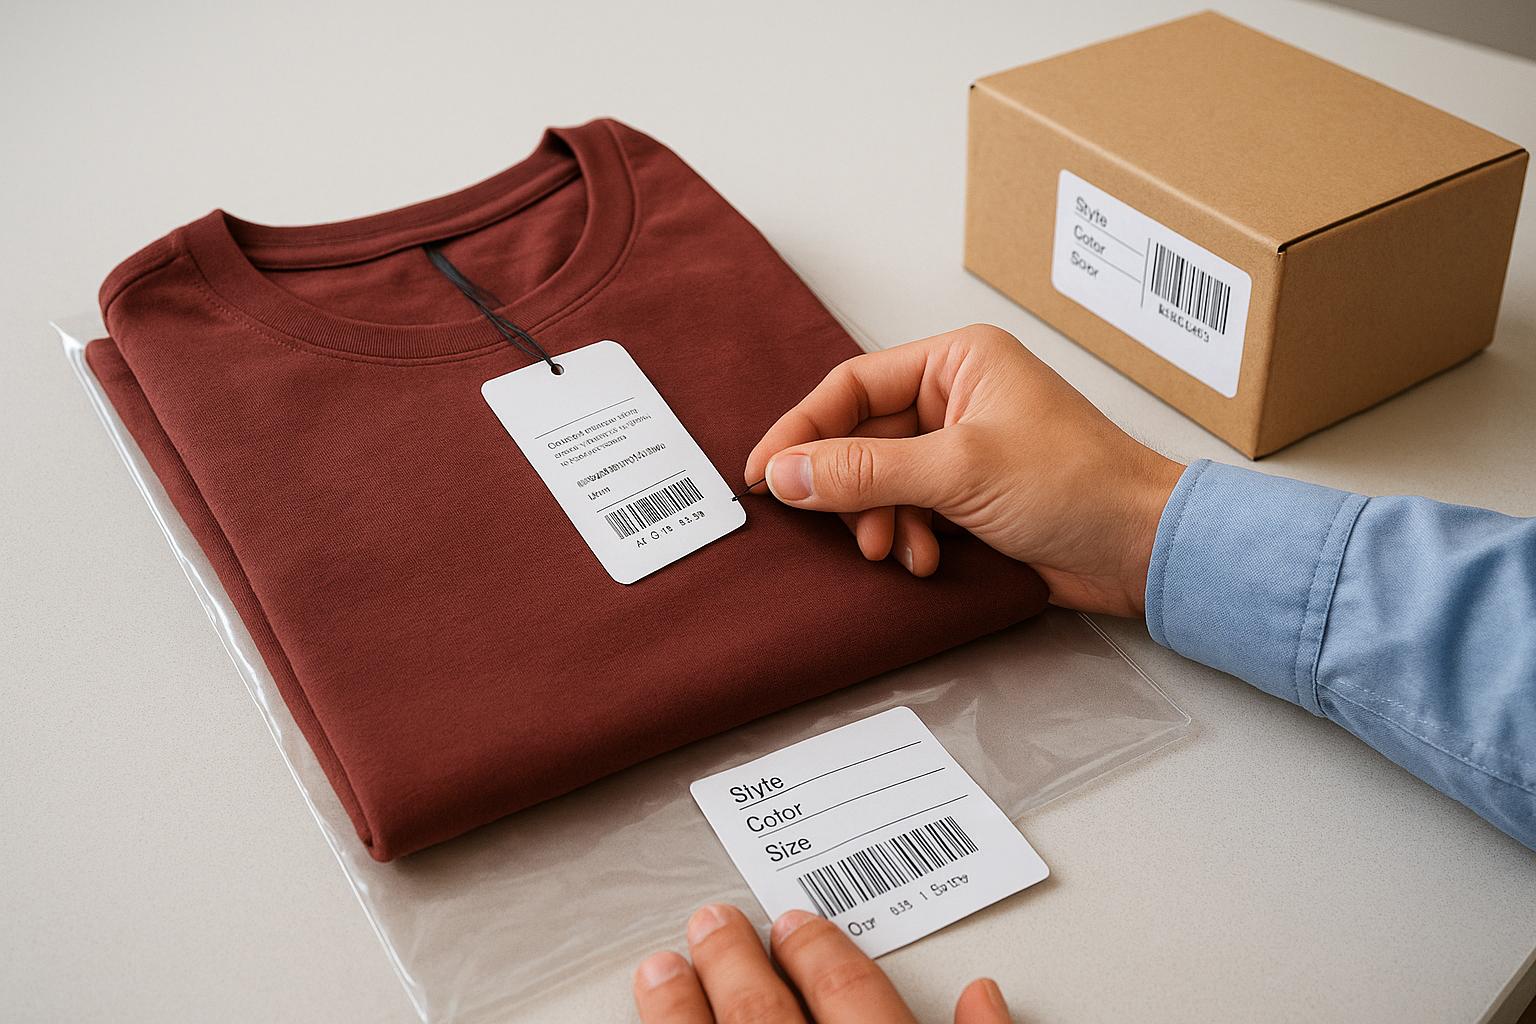
Packaging verification checklist:
- Size and care labels: correct placement and approved artwork
- Hangtag attachment and barcode scan accuracy
- Polybag size and correct garment folding
- Carton label: style, color, size, and quantity match the PO
Step 4. Document defects and corrective actions
Finding defects during inspection means nothing if you don't record them. Proper documentation turns each inspection into a learning tool that improves future production runs. Every item your garment quality control checklist flags needs to be written down with enough detail so that your factory can trace exactly where the problem started and fix it at the source.
Record Defects with a Standard Log
Your defect log should capture the same information every time so you can compare results across batches and suppliers. Consistency in your records is what lets patterns emerge over time. Use a simple table format for each inspection, like the one below, and complete it for every lot you review.
| Inspection Date | Style/PO | Defect Type | Severity | Units Affected | Location on Garment |
|---|---|---|---|---|---|
| 2026-05-10 | JKT-001 | Skipped stitch | Major | 12 | Left side seam |
| 2026-05-10 | JKT-001 | Missing bartack | Major | 6 | Belt loop |
| 2026-05-10 | JKT-001 | Loose thread | Minor | 22 | Hem |
A defect log that lacks specifics forces you to repeat the same investigation every time a problem resurfaces.
Assign and Track Corrective Actions
Once you've logged each defect, assign a corrective action to the responsible party with a clear deadline. Vague feedback like "fix stitching" produces vague results. Instead, be specific: identify the sewing station, the operator, and the exact adjustment needed. Track whether the fix was applied and verify it during the next inline check.
Your corrective action record should include:
- Defect reference from your log
- Root cause identified (machine calibration, operator error, incorrect material)
- Corrective action assigned and to whom
- Deadline for correction
- Verification result from follow-up check
Keeping this record for every production run gives you a clear picture of recurring issues, which tells you where to focus your quality training and process improvements on the next order.
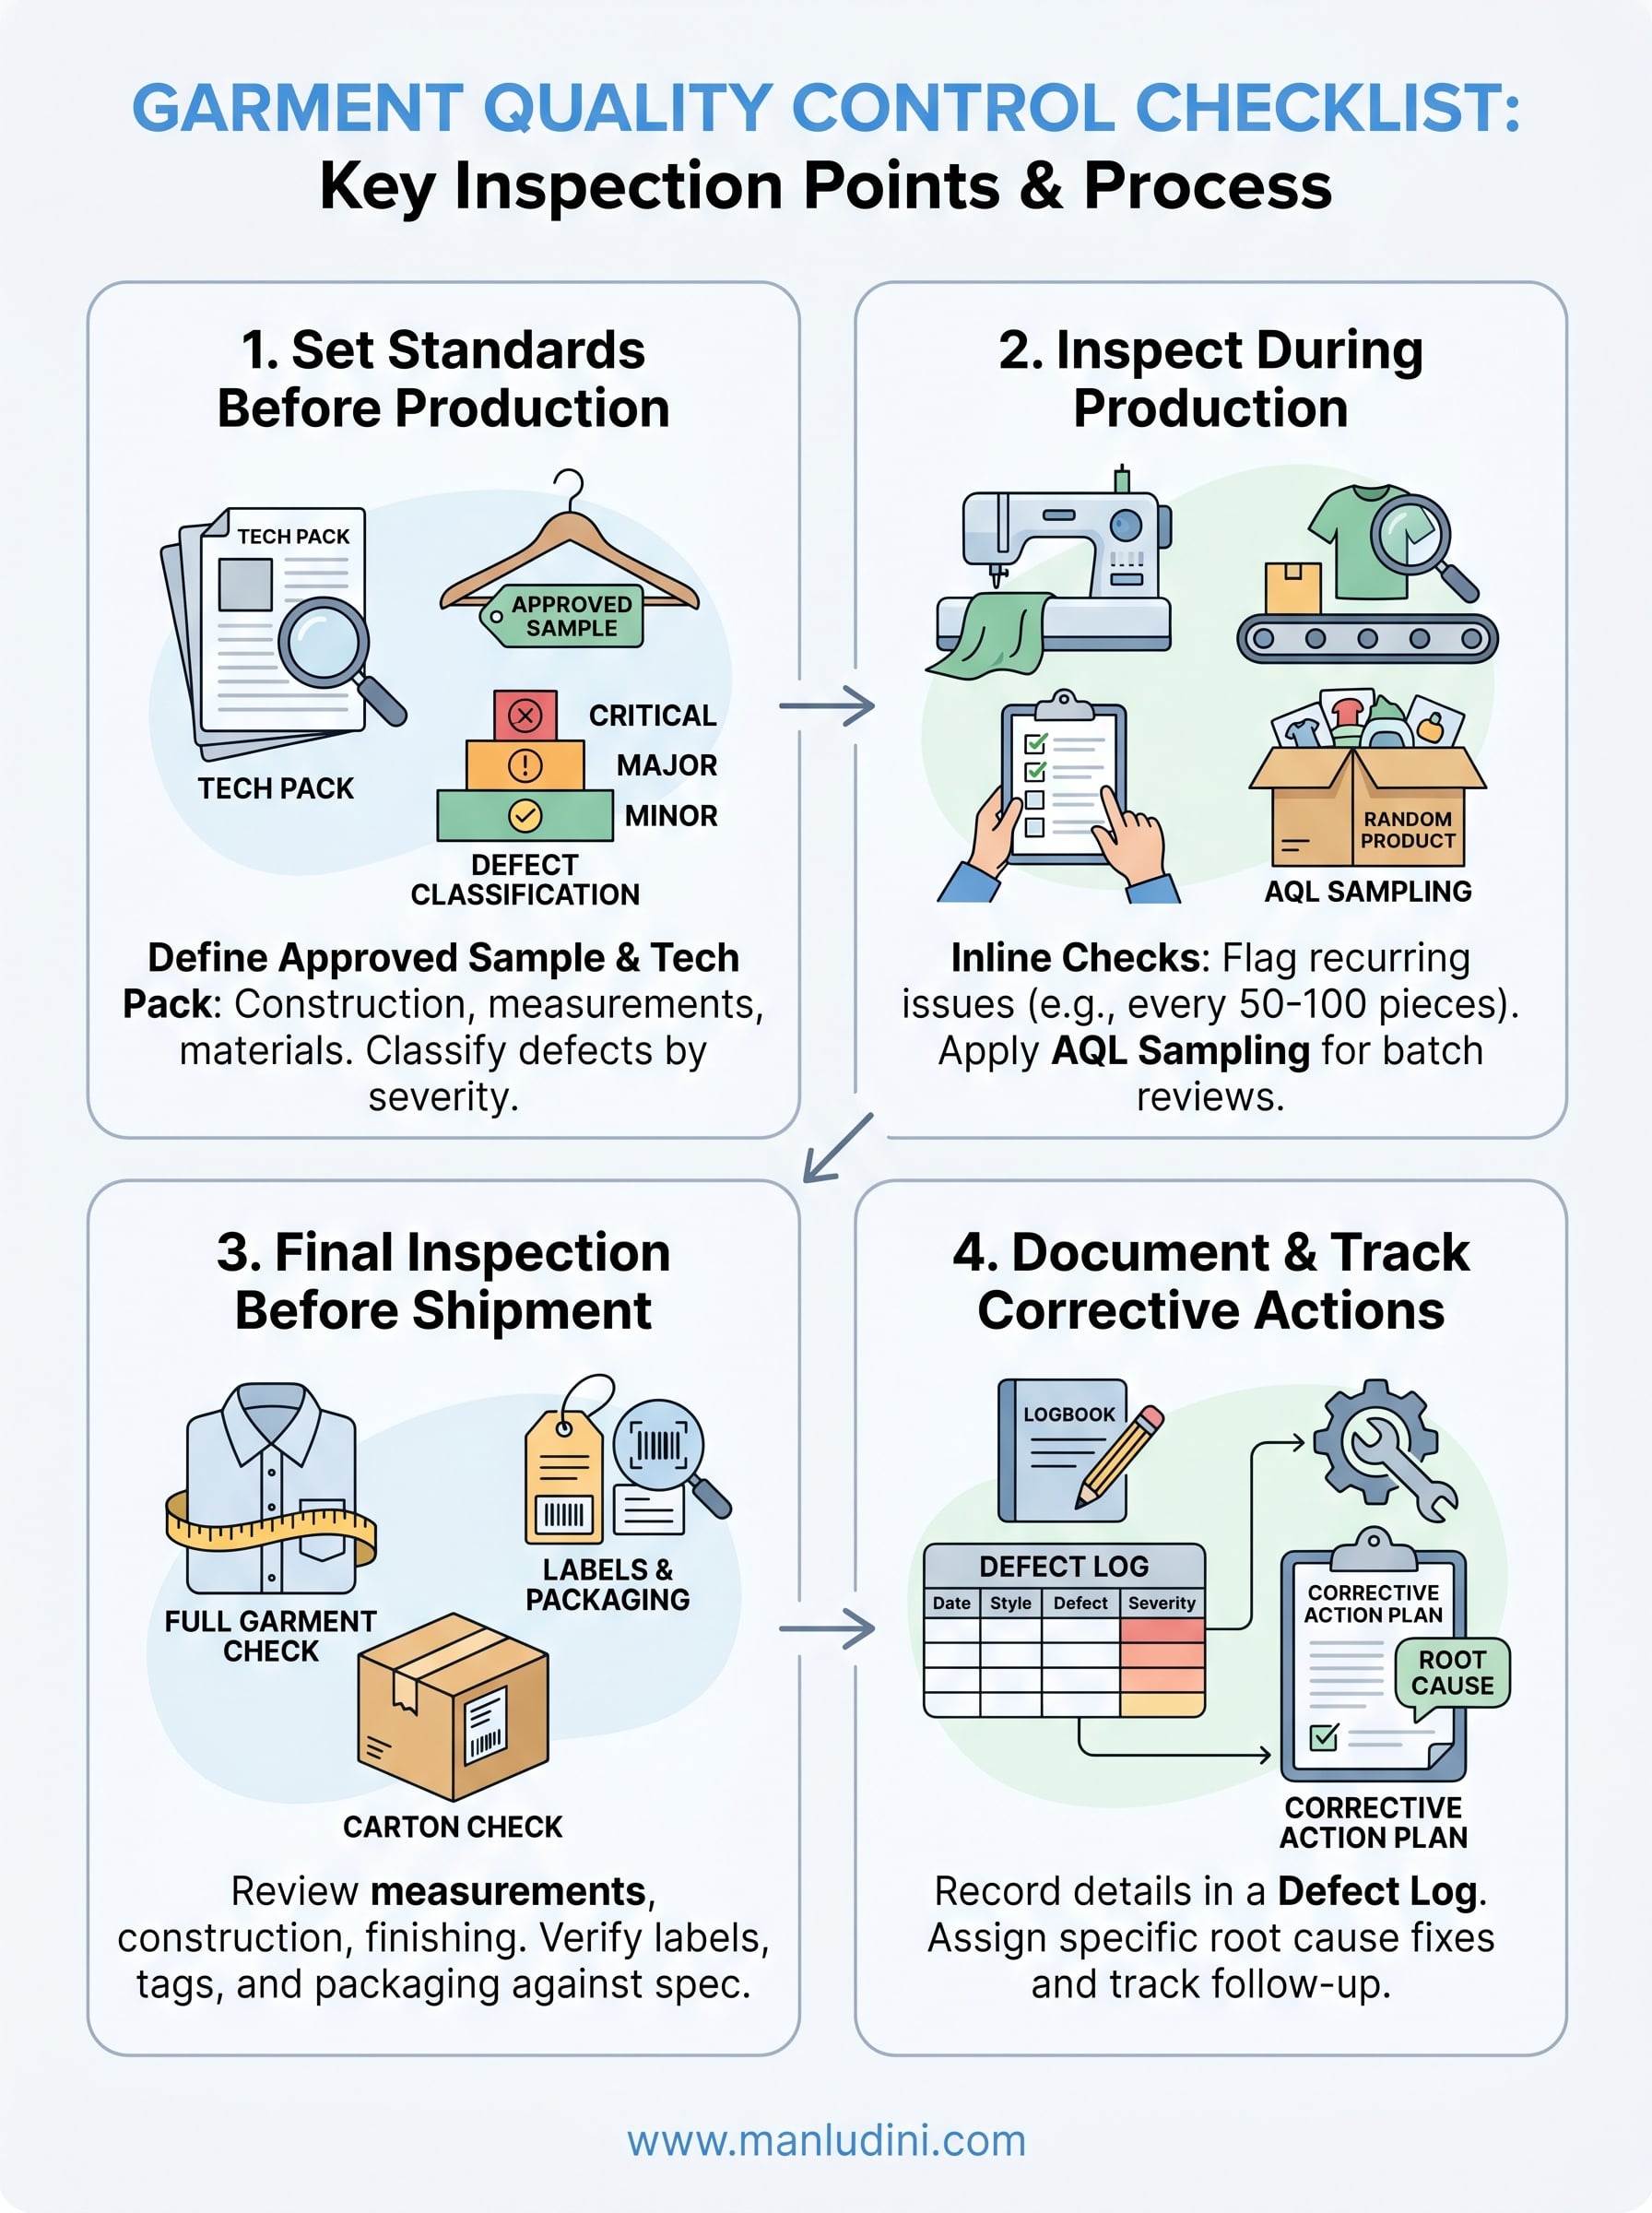
Final checklist recap
A reliable garment quality control checklist comes down to four actions done in the right order: set standards before production, inspect during production, run a full final inspection, and document every defect with a corrective action. Each step builds on the last, and skipping any one of them leaves a gap that defects will find their way through.
Your inspection process only gets stronger when you treat each production run as a source of data. Defect logs, corrective action records, and AQL results from one order directly shape how you approach the next. Over time, you'll spot recurring issues before they reach bulk production, and your supplier relationships will improve because expectations are clear and documented.
If you need a manufacturing partner who builds QC into every stage from sampling to shipment, connect with Manludini to protect your product quality from the first stitch to the final carton.
0 comments